About this mod
I had a few people ask about how I went about partitioning the meshes, so I figured I'd write up a walkthrough while working on Morthal.
- Permissions and credits
However, and I cannot emphasize this enough:
This is my first time dealing with meshes, basically at all. This is 100% a case of the blind leading the blind.
It seems to work! When I mess around in the lighting environment in CK and in-game, it seems to work just fine! The meshes look right in nifskope! But there may be additional implications for things like how textures lay on the meshes, and other things, which I genuinely do not know. I know there's tons of others out here in the community who might be able to answer some of those questions, even if they've never approached them from this perspective before, and please...please please PLEASE feel free to correct me. I would much rather know than continue doing something which is wrong.
And yes, "Brief" is tongue in cheek, I know I can be overly verbose. It's a nod to my other guide, A Brief Walkthrough of Conflict Resolution and 3D Space Patching.
That out of the way, here we go.
Tools Needed
Not going to get into things like if you want to optimize meshes before diving in, or convert them from LE to SE, or anything else along those lines. Nor even the CK bit for doing the lighting itself. This is all about chopping stuff up. For that, we want two tools:
- Bodyslide and Outfit Studio. Yes, really. This is where the majority of the work will happen, both the partitioning of BSTriShapes, and of adding new vertices, and what have you.
- Nifskope - this is an open source tool which can be used to edit and look at meshes.
My Process
First, set up a work area. Make a new folder in your modding setup, and copy the meshes into there - don't edit the original meshes, leave them in their original folder, so you can completely wipe things and start over easy if you need to. Follow the folder format given. So in my case, since I'm working on COTN - Morthal, I have the following. I'll be working on 3 buildings: the Inn, Highmoon Hall, and the Thaumaturgist's Hut (simply due to its size). We'll start with the last one of the three. So that makes my working area like this:

Very exciting, I know!
Now, in this case, I've run them through NIF Optimizer already, but let's open it up in Nifskope to get an idea of what we're looking at. Start with the Thaumaturgist's Hut. We open 'er up, and this is what we see:
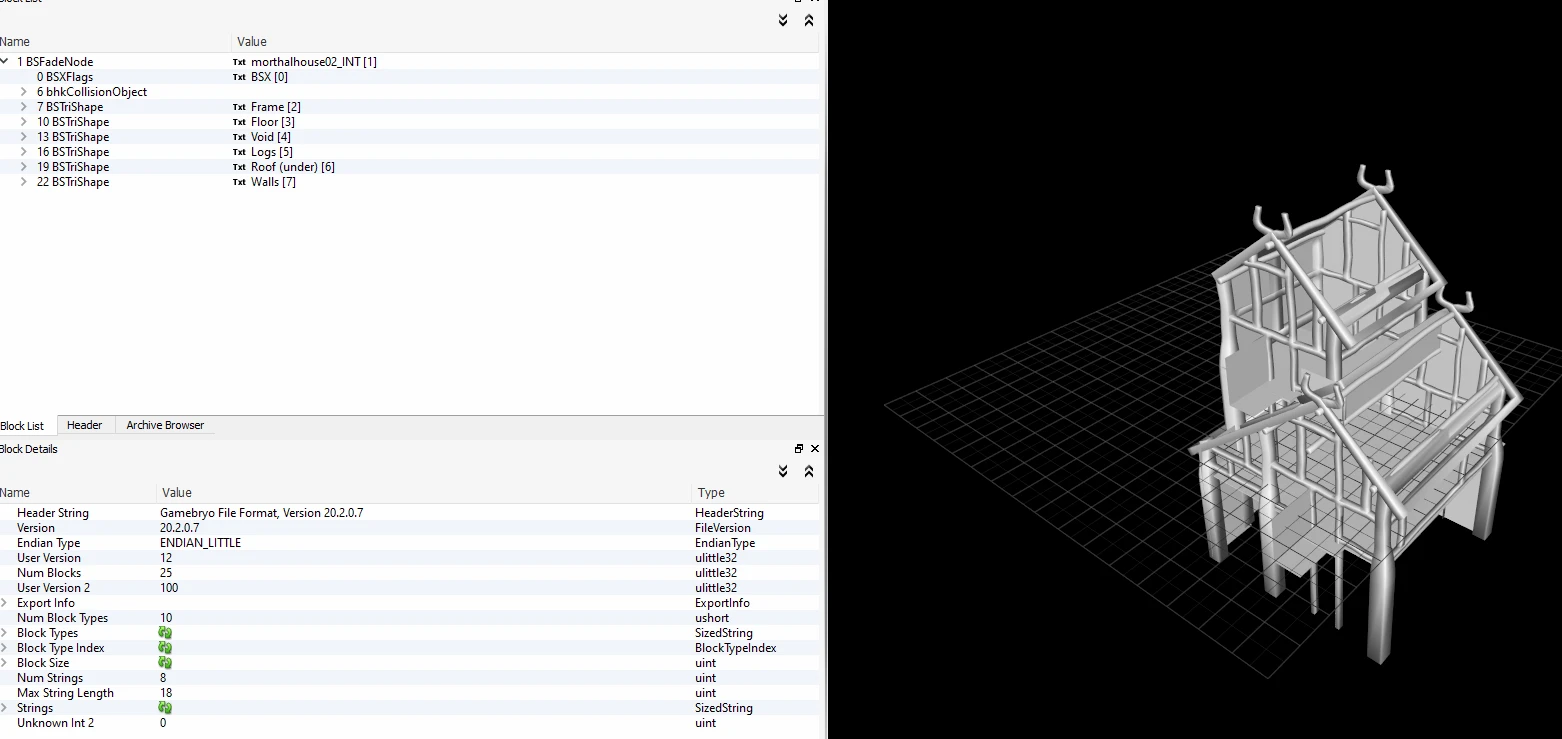
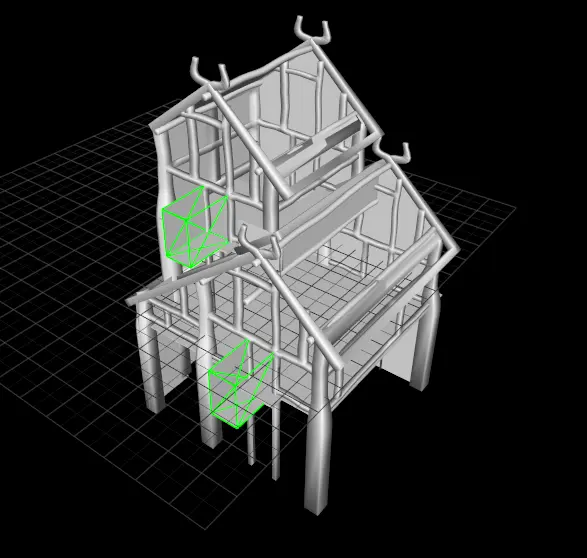
First we have a collapsed BSFadeNode, which we expand, and then you can see in there there's a BSX Flag and a bhkCollisionObject - I am not remotely qualified to talk about those, so we will ignore them. Then, we have a series of BSTriShapes. As we highlight them, we can see different areas highlighted. Here's each. Frame:
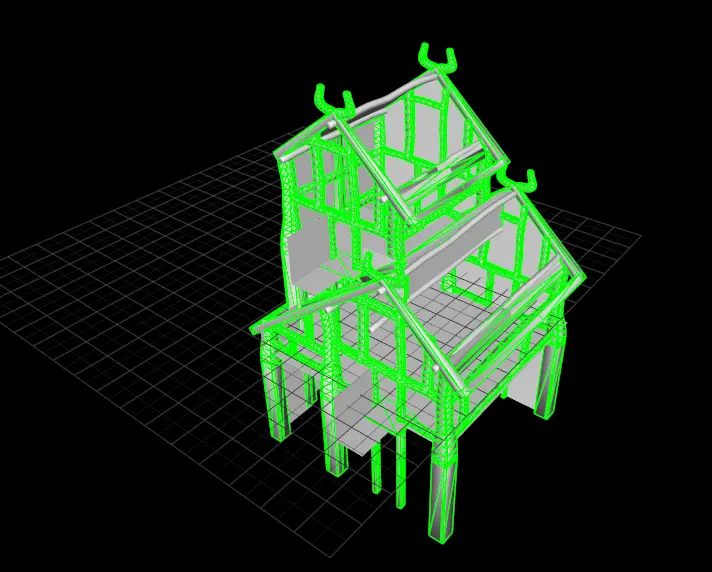
Floor:
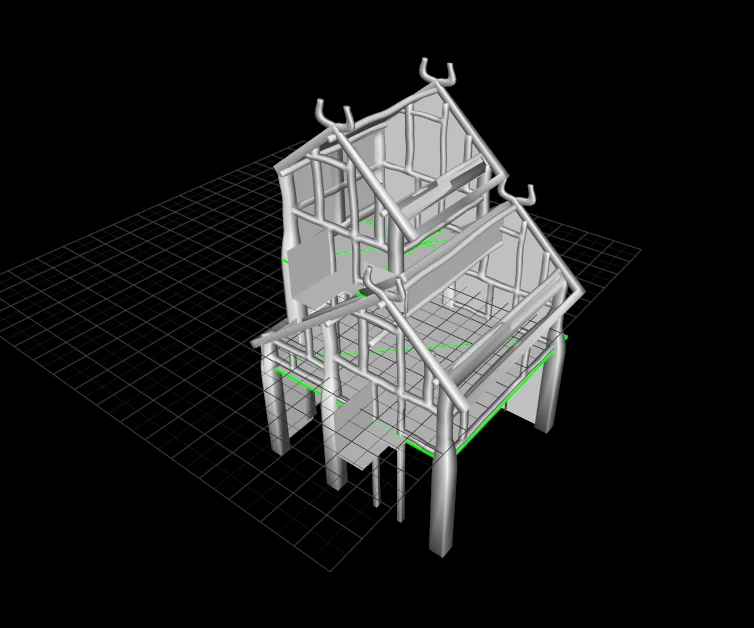
Void (so named because it's the area behind the doors as they open, I believe):
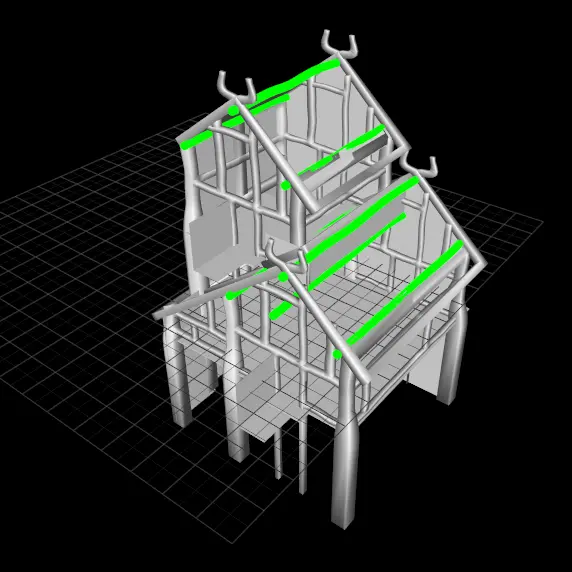
Logs:
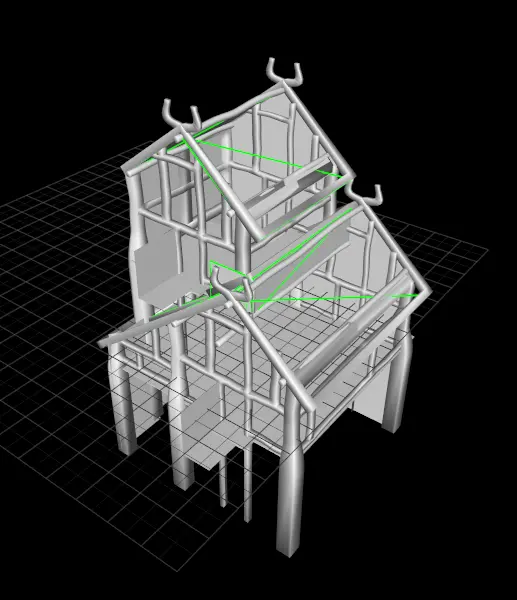
Roof (under):
and Walls:
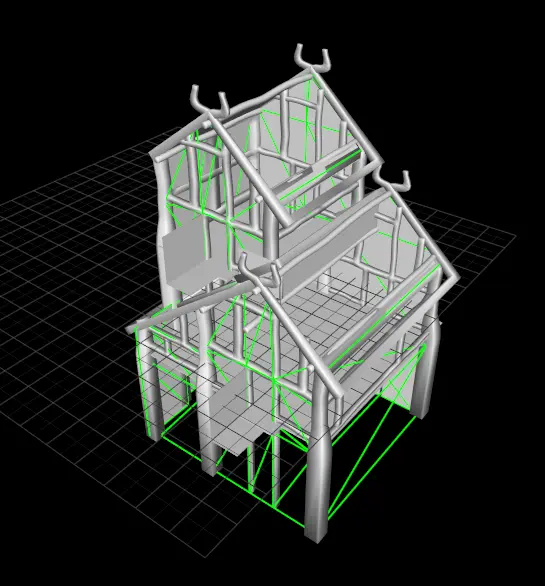
Now, from this, a couple things should be apparent. Some of them will be easy (Void and Logs in particular, but also Roof (under), as we'll see, and potentially Walls, as well). Others will be hard (Frame is obvious. Floor will be too, but it's not immediately obvious).
Now, each one of these is also collapsible, and has menus under them, as well - BSLightingShaderProperty, and that has BsShaderTextureSet under it as well. These are places that you can edit some of the shader flags, and what texture a given mesh points to. I've gotten some advice with regards to those aside from them, so my released products will have some tweaks, but I don't actually know what some of those shader flags are, I don't know how to manipulate UV Offset or Scale - that's well beyond the purpose of this guide, so we're going to ignore those. HOWEVER, if you're going to edit them, do so now, because it's a TON easier to do them before you separate BSTriShapes than it is to edit the multitude of them after you've already split them.
Also, as an aside, I'm going to do my best to not confuse terminology, but "mesh" can kinda be used interchangably to refer to the physical file (.nif), and to BSTriShapes, when referring to lighting. The "six light sources per mesh" means the bounding box (I think it is) for the BSTriShapes. In-engine, there's some weirdness that I don't fully get, because I've ABSOLUTELY gotten flicker on BSTriShapes that don't have 6, let alone more, light spheres touching them, but that's the gist of it. I will try to use .nif and BSTriShape as terms instead of using "mesh", but something might slip in there, and I would hope context makes it clear which I'm talking about.
Okay. Time to go into Outfit Studio!
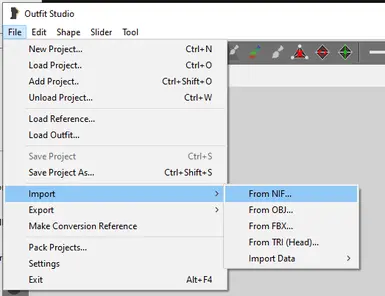
First, go File > Import > From NIF and chose your .nif file (after having saved in nifskope if you made any changes).

And here's our new layout. Look, it's a building!
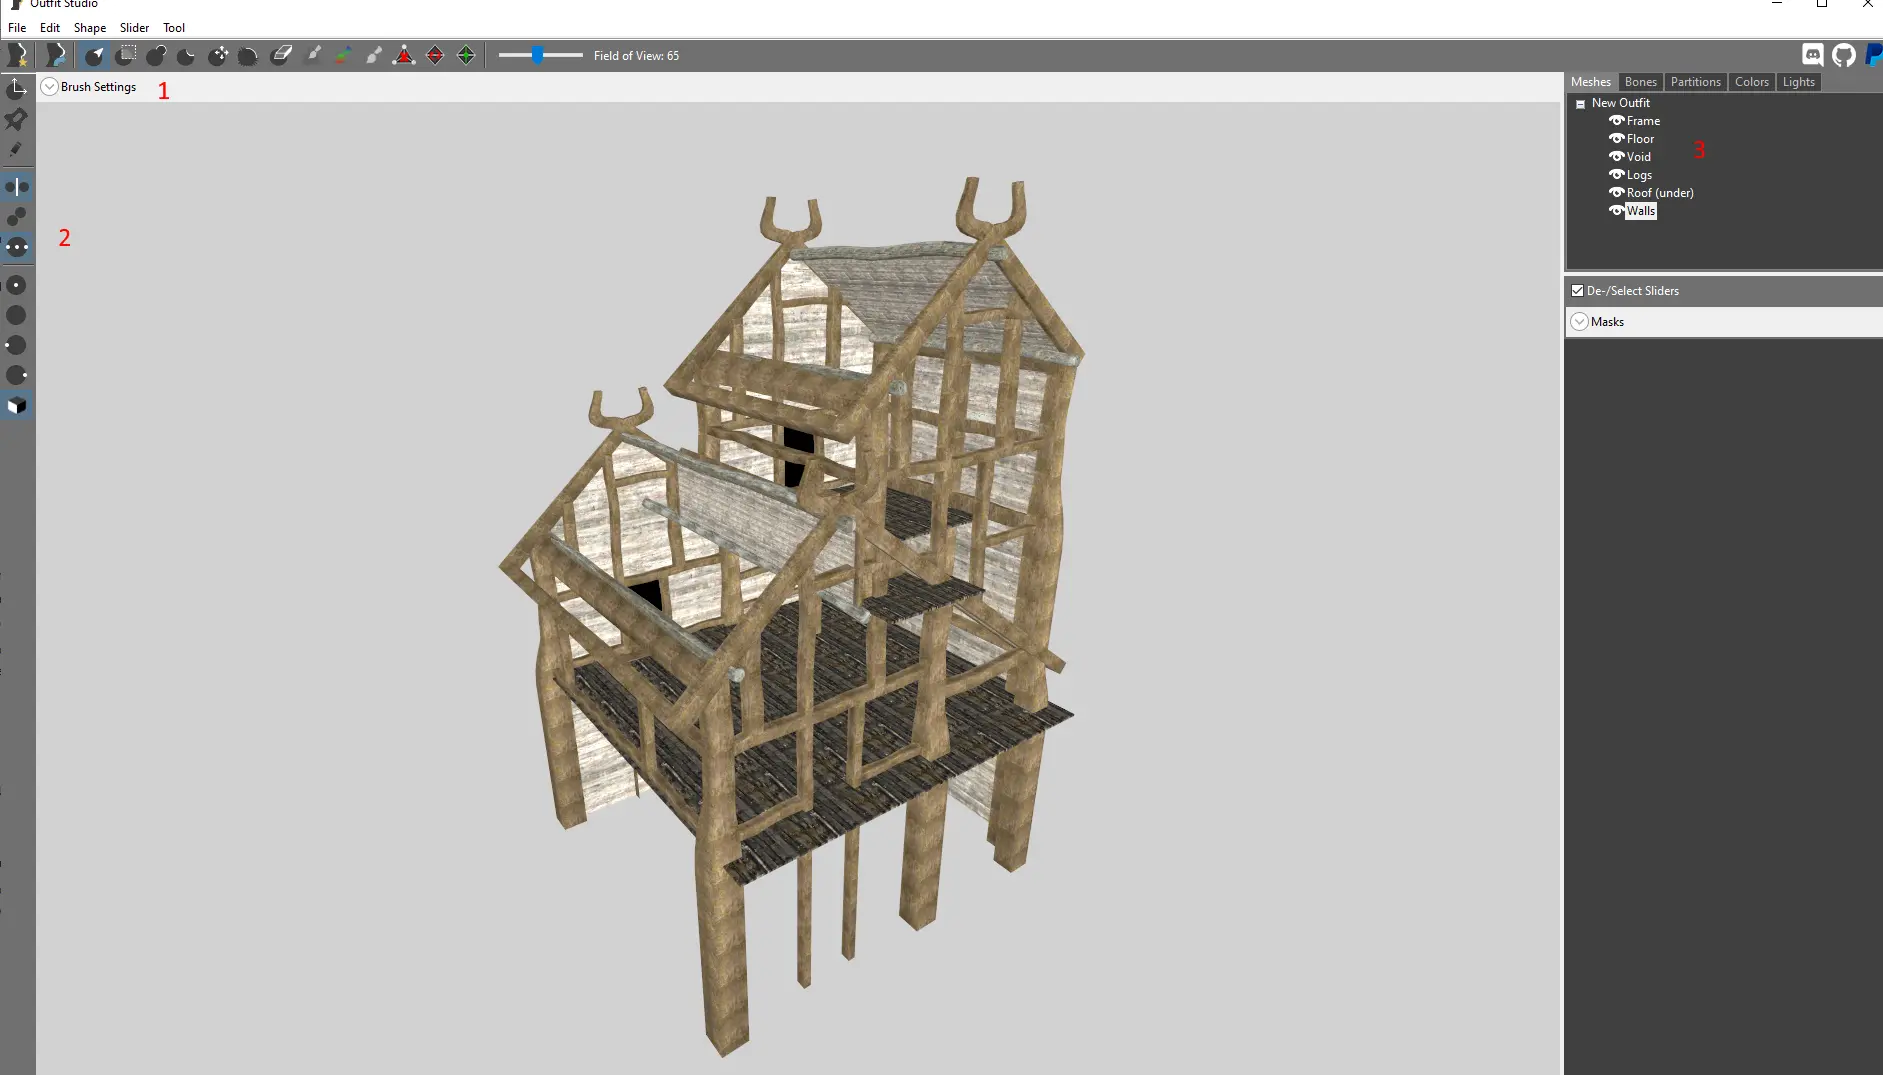
The T button toggles textures on/off, I recommend turning them off - it'll be a lot easier to see vertices without them. But first, let's highlight a few things. I've stuck a few numbers on the image. 1 and 2 are our toolbars, we'll use a few buttons. I don't actually know what all of them do! Some of them may very well make my life easier!
1 - horizontal bar. The first couple buttons are basically "New" and "Load" - we've imported a mesh, we won't be using them. The next two are ones we're primarily concerned with. The first one lets you select triangles or vertices depending on mode, the second one lets us mask specific vertices - they're both basically different ways of doing the same thing. The next eight are all manipulation things - editing the mesh. We don't want to do that right now, so I haven't been diving in. The next two are potentially useful, although I have not used them - one removes vertices without creating a hole, one allows for an internal triangle connection to swap which outer vertices it's connected two (this could be very useful for when cutting up a floor, for example, but I haven't used it), and the last one is to add a new vertex at a midpoint between two other vertices - we WILL be using this, but not right now.
2 - Vertical bar. Once more, haven't used all of these. The first one is a transform tool, we don't want to be transforming the mesh. Ignore this. The second one adjusts the pivot point, it doesn't seem particularly relevant. The third one is what we'll mostly be using, it lets you select vertices to add to a masked area. For the next three, make sure the first and third are off - the first makes it so any changes you make are mirrored on the X-axis, the third allows for you to edit multiple BSTriShapes at once, which we also don't want. The second one makes it such that you can only edit vertices connected to existing ones - your call. Finally, the last 5 are just different camera angle manipulation things. Have fun.
3 - Does this list look familiar? It's our BSTriShapes! Note the "eye" icons next to them. You can enable/disable visibility (or set them to wireframe only) via clicking on those. It's useful!
Let's start out by disabling the visibility of everything except for "Void."
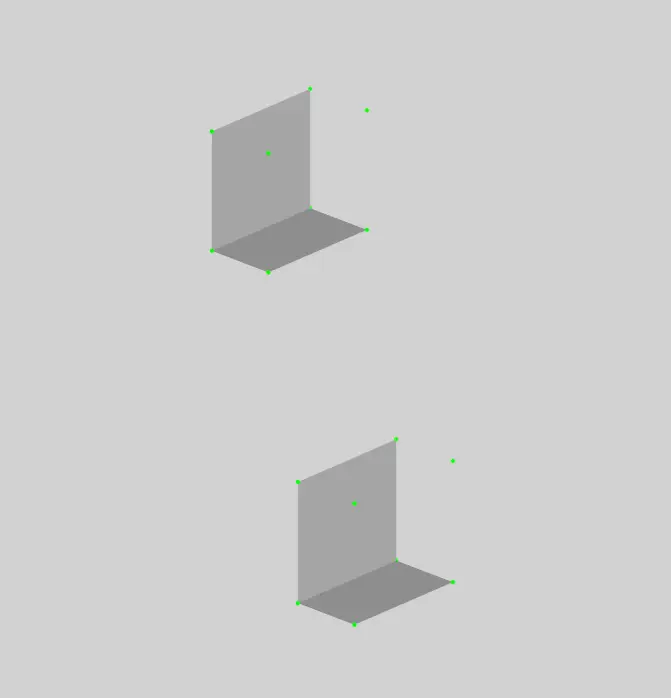
Super exciting, huh? Okay, let's mask one of those two Voids off. Hold Ctrl, and click near a vertex.
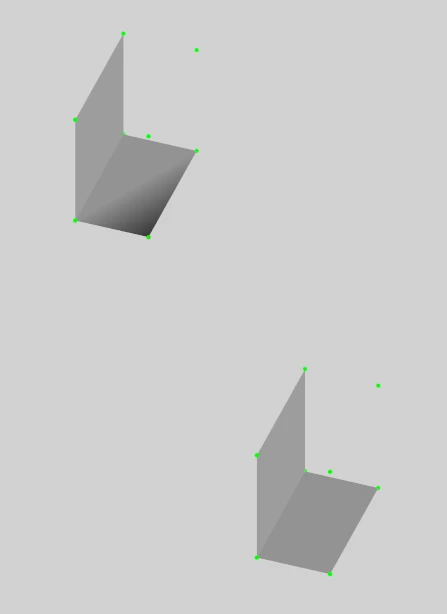
Notice how the one corner is darker? We've "masked" that triangle. Let's mask the rest of this shape. But rather than clicking every triangle or every vertex, there's a keyboard shortcut - D will expand a mask to everything it's adjacent to. A will reduce a mask the same way. And just like ctrl+click masked, alt+click will unmask. Now, thinking back to what we wanted to do, this is for lighting. We have these two sections of void - honestly, we don't HAVE to split them, but they're disjoint from one another. It doesn't really make sense for one to be considered lit if the light hits the other. So let's split them. Completely mask off one of them by pressing and holding D.
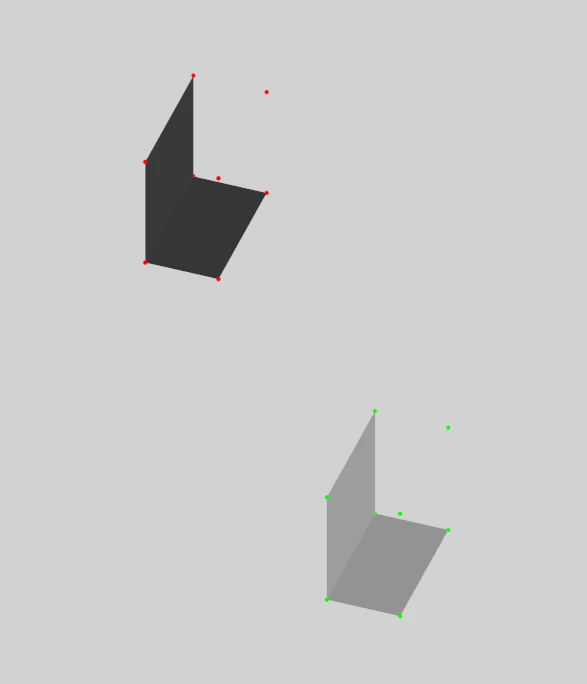
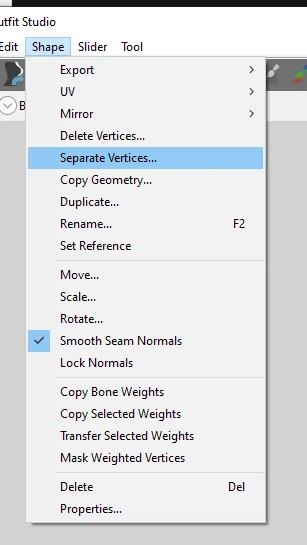
And now it's masked. The mesh is dark, and the vertices are red. And we go Shape > Separate Vertices and get a prompt for a new name. We'll be super creative and name it Void 1.
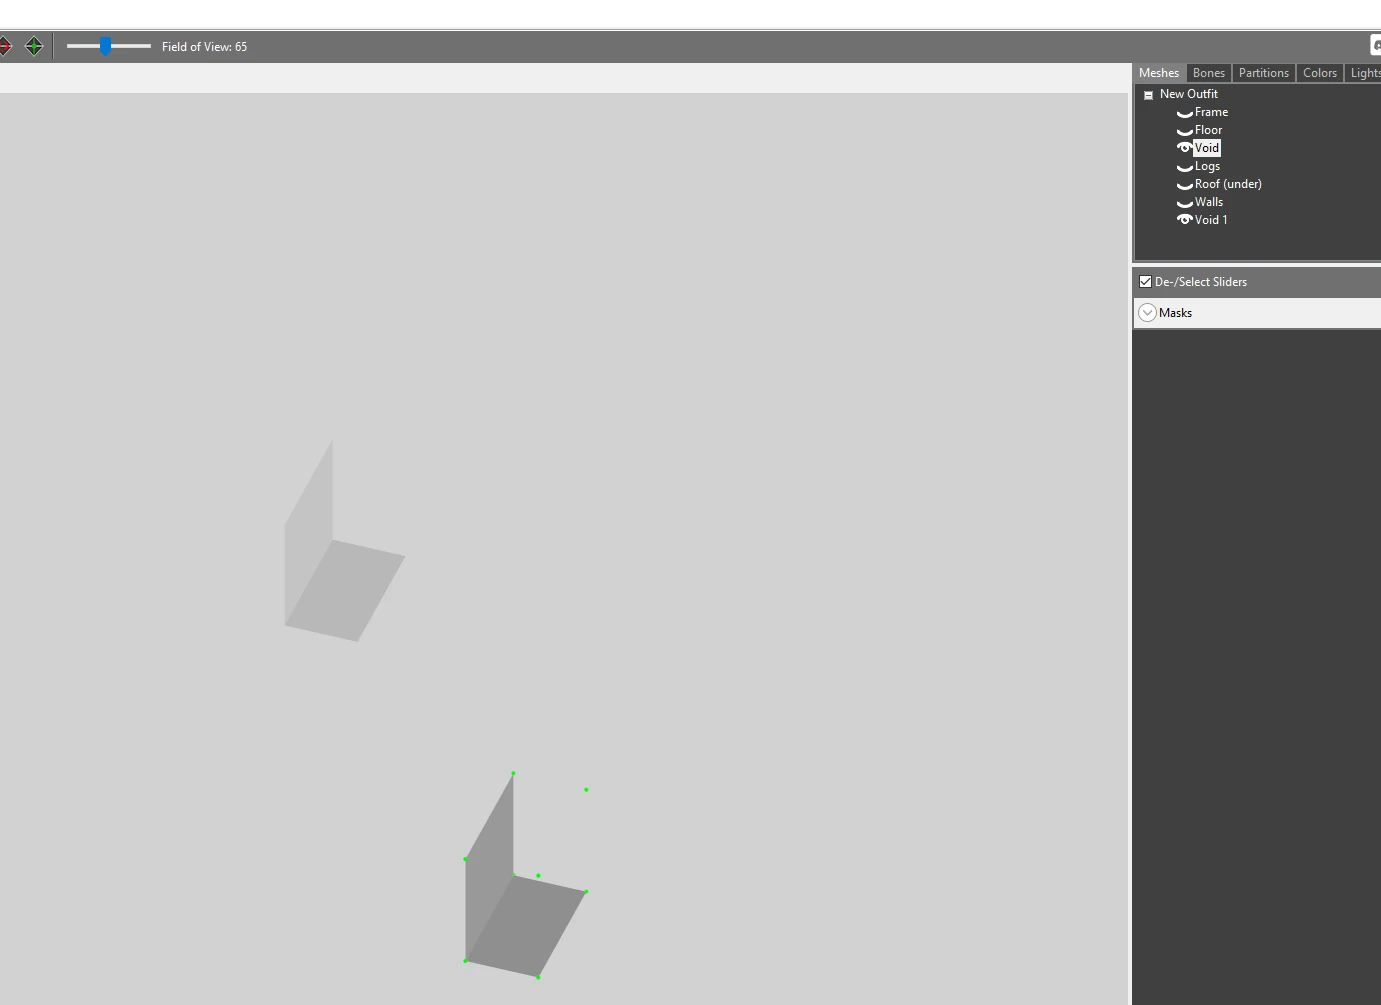
...and that's it. Congratulations, you've split a BSTriShape. Like, literally, that's the whole shebang. Everything else from here on in is specific scenarios. Look at the top right where you have your list of BSTriShapes - it's there now. You can toggle its visibility like any of the others, etc. Let's rename "Void" to "Void 0" just for consistency, and try something slightly more complex. Let's look at Logs.
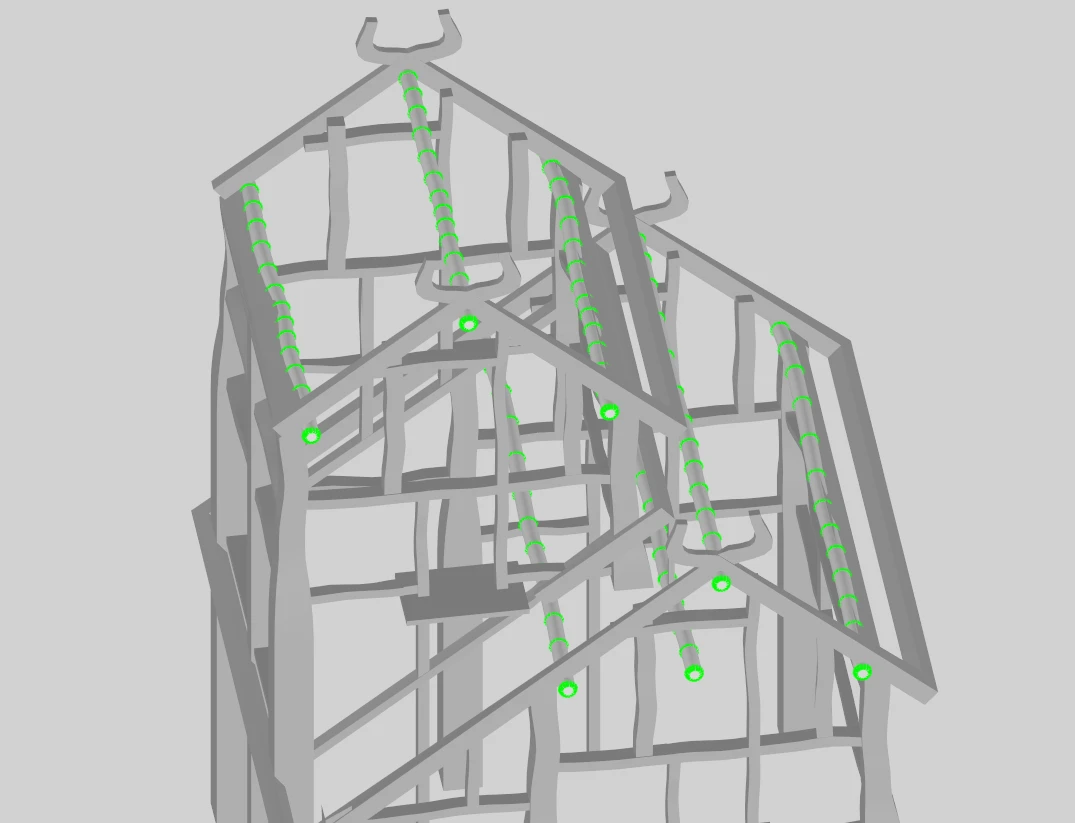
I've added the Frame back in to give context to everything, so you can see where these logs are relative to everything else. As we can see, there's 7, in the roofs of two rooms. Now, once more thinking to lighting, there's a few ways we can look at this - maybe have Logs 0 and 1, one for each room. If you're expecting there to be a lot of lights on the ceilings for one reason or another, maybe have them split in the middle so we can have a "front" and "back" of each. Now, I wouldn't expect any sort of complex lighting like that, but once more, not much reason that it would make sense for one log being lit to impact another, so my sentiment is to split the 7 logs. And thankfully, because they're not touching one another, it becomes super easy. Click a triangle on one of them, hold D until it's masked, Separate Vertices, give it a name, and do it to the next one.
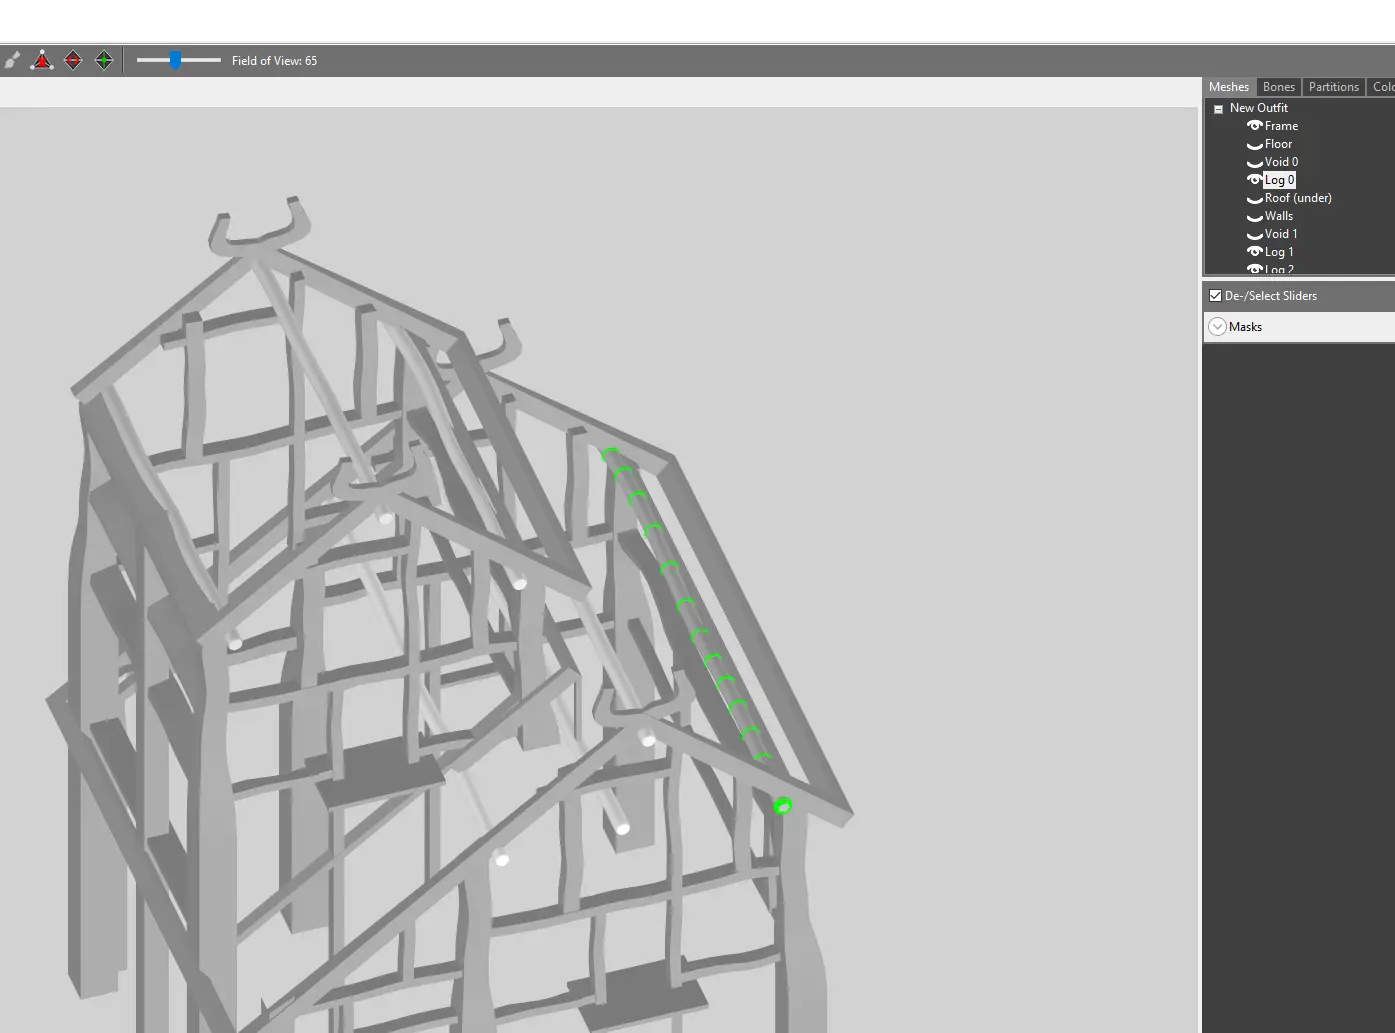
And there we go. Separated logs. Let's try Roof (under) next.

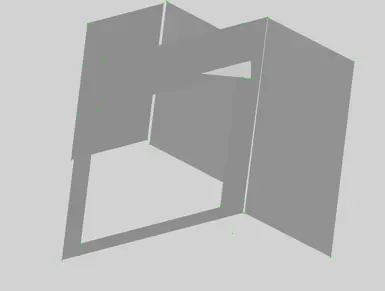
Well this is weird. What's up with all these floating green dots? Let's rotate the camera and look from below.

And there we go. This is another important thing to keep in mind: Sometimes BSTriShapes are not two-sided, and can only be viewed from one side. Shift your camera frequently to make sure you're not missing something! Now, note another thing: some of the panels are separate from one another. This means that we can do the same thing we already have been, highlighting via using D and A, and separate that way! Convenient! However, these panels can end up quite large, and it's important to have a consideration of both that surface area, and the layout of the building. Those top roof panels? Sure, throw them both together, or one panel per - no biggie. But some of those other ones are quite large, in particular the one which wraps around what will be the stairwell up to the second floor in the completed building: these are cases where we have to consider if we might run into the light limit. I honestly don't think we will, but these are simple shapes, so let's use this as an example for carving something up. First, let's split out all the other panels so they're not in the way.
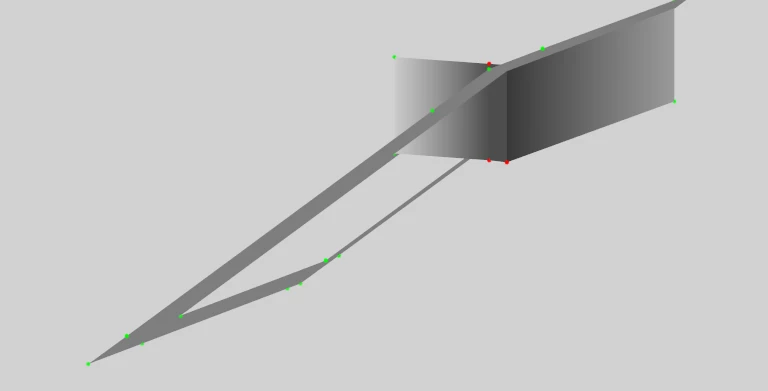
Now we've hit our first interesting case - these vertical walls are used to fill in gaps around that open stairwell: they fit into frames. But the geometry is connected, so if we try to highlight the whole thing, we get BOTH panels. Now, we don't want that. We want to separate the two 90 degree angles. So instead of clicking and just using D to expand to do the whole thing, because these are simple shapes, let's just grab the vertices we want entirely in this shape (so not the bordering ones), and make sure all those are red:
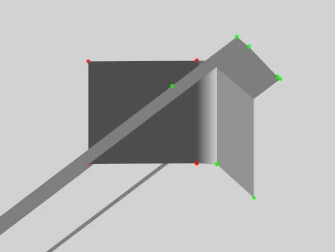
See those partially shaded triangles? They indicate what will be included in the masked/separate shape, but not in its entirety, because the vertices which are green are still not fully masked, so they will also be indicated in the other shape. Let's separate this.
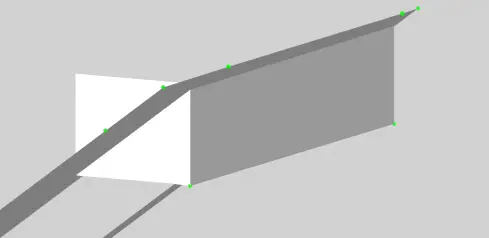
And there we go - Front and Side are separate from one another, so we mask of Side as well, turn off both their visibility, and this is what we're left with (re-added the frame for context):
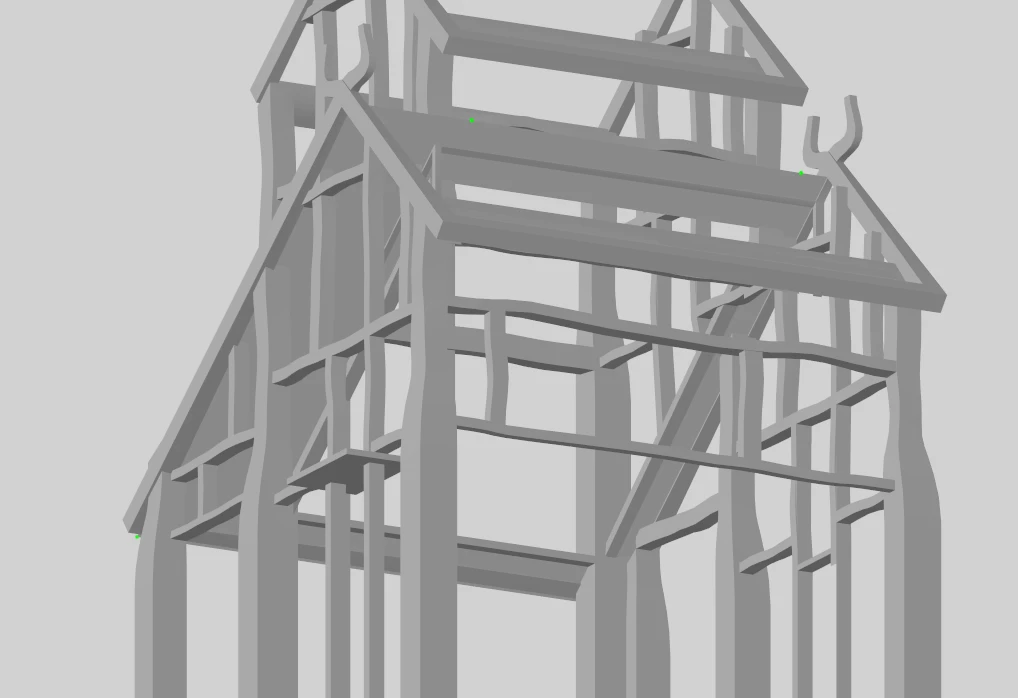
We're doing this for an example, so why not overkill. Let's split it into four - front, back, top, and bottom. Just follow the same procedures we already did.
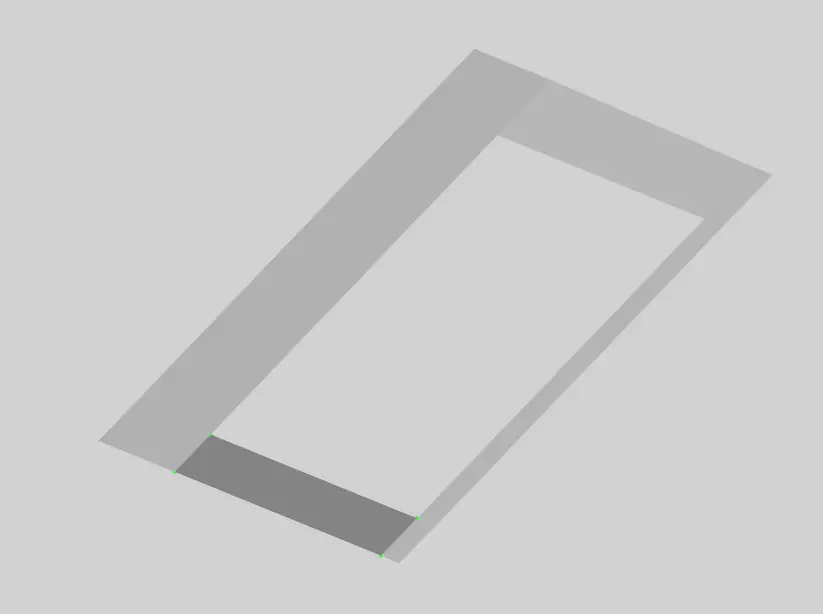
And there we go, roof is done. Now, one nice trick you may have noticed here is that, depending on order, you can make future steps easier - by doing Front and Back first, or Top and Bottom first, you separate the other two, so the "highlight all via hotkey" method becomes available. Not a big deal on something simple like this, but MAN when we're dealing with Frame, that'll be useful.
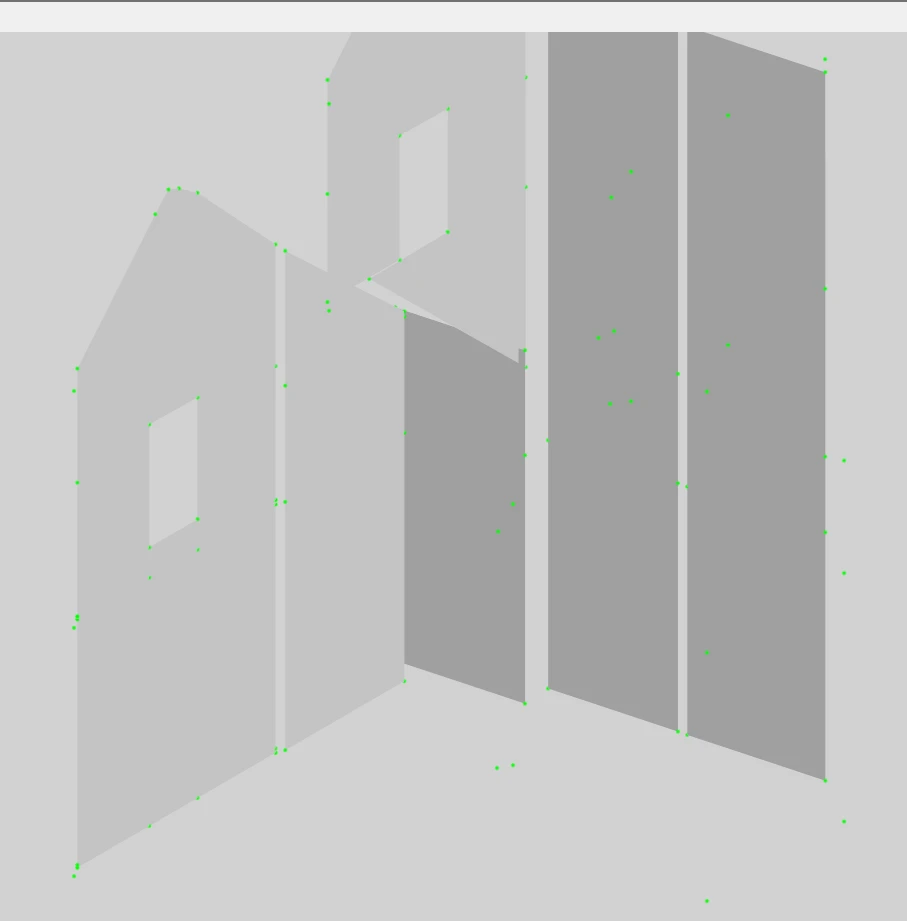
Next up, let's do walls. Much like roof, they're one-directional, so there will be a lot of rotating going on. But you'll find that they're actually surprisingly disjoint from one another, so they're easy to do "highlight all" - many of them we can one-and-done. Some of them are quite large, however, vertically, so for convenience sake when doing lighting we might want to split them top-bottom, at least. Don't forget to turn Frame on periodically if you lose track of what wall is what, or where things overlap. In this specific case, there's the additional wrinkle of walls extending well below the floor - we can chop those off as separate, or we can simply keep that in mind, given we won't be sticking lights down there. So, for the ones visible in the above screen, my initial inclination is to just make each separate part into a single BSTriShape, except for the two tall ones which go the entire height of the building, which we'll split in half.
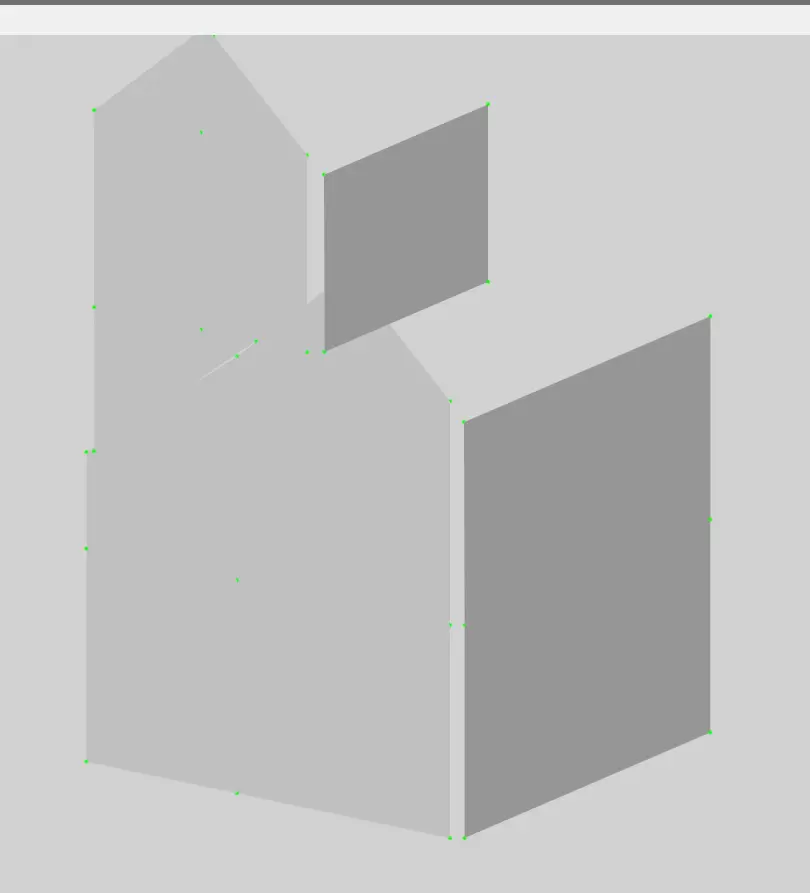
And then we rotate to see the other two walls, and largely the same thing - some of them are separate and easy, a few of them are really tall, so let's split them to be thorough.
When making these decisions, however, it's important to keep in mind: you can split easily, but I'm not aware of any easy way to re-join two BSTriShapes. So be careful :)
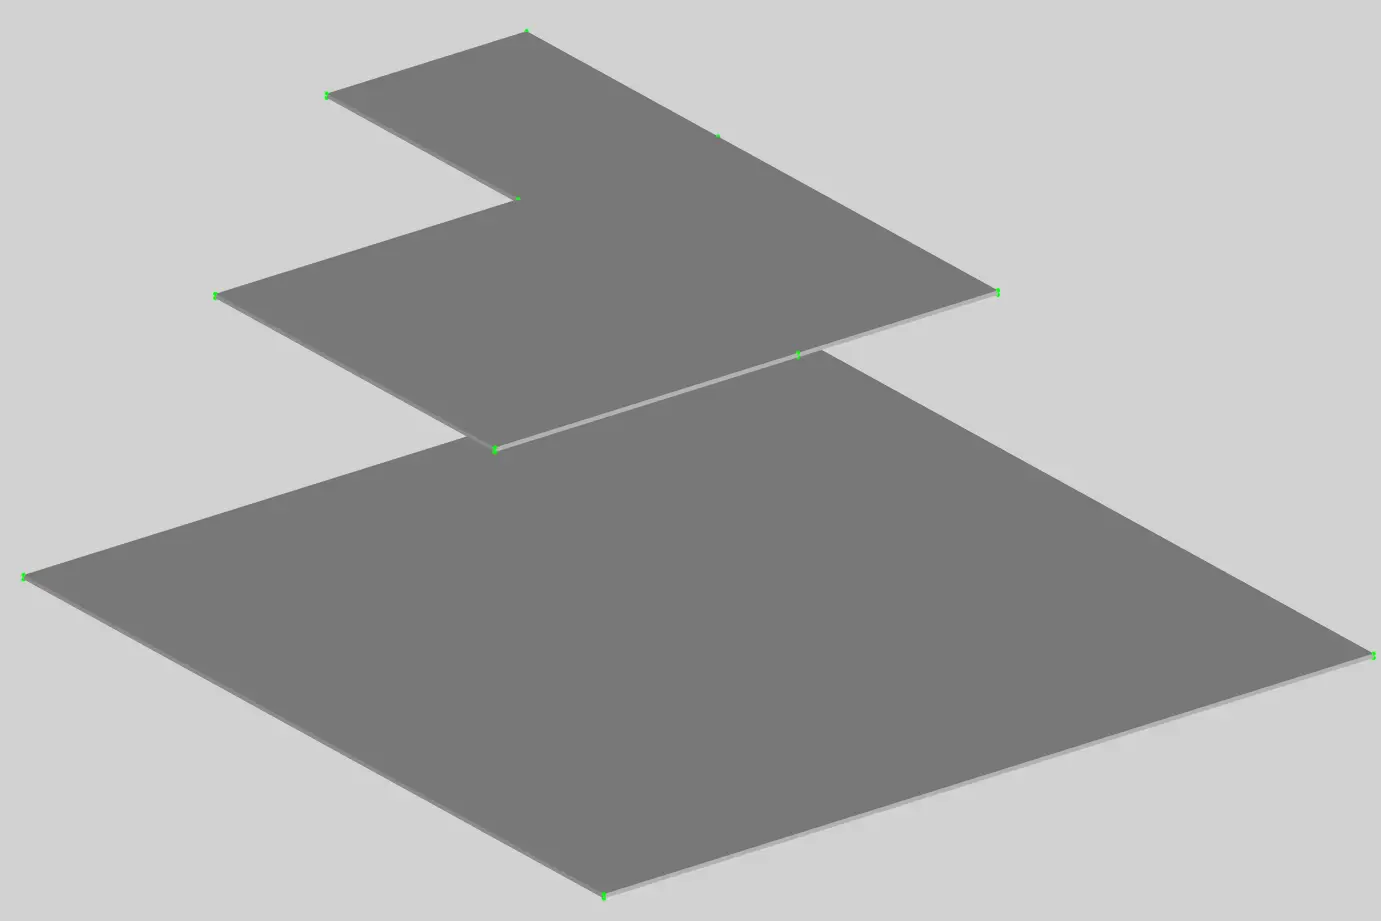
And now we come to the floor. Let's take a look.
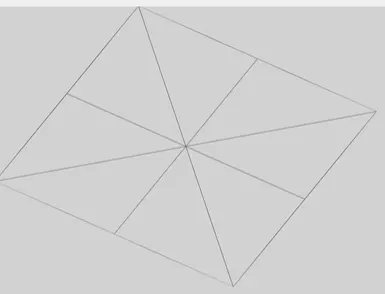
There's a couple things to note. First, both the lower and upper floors are the same BSTriShape - we'll definitely want to split those. Secondly, the top floor is an L shape which is convenient for splitting into 3 sections, so we can take advantage of that without having to do anything major additional. The bottom floor, however, just has vertices in the corner: in order to divide it up, we'll need to add some additional vertices. And finally, the floors are also the ceilings - there's a thickness to this, so you need to make sure to do BOTH sides, not just one, when splitting them up. Let's take care of that top floor first.

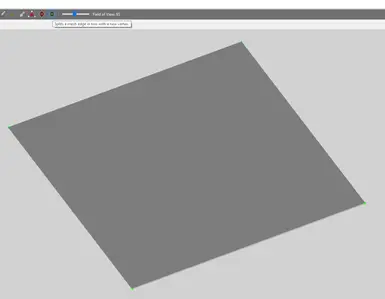
This is one of those cases where it's simple enough that clicking each triangle or vertex is the easiest method. Remember: top, bottom and ALL sides. Three in this case. So once we've got those split and hidden, we look at the bottom floor. Now, depending on the lighting you plan on doing, maybe one mesh for the entire floor is fine! But just to be on the safe side, and to provide a simple example, let's break this up into 4 quadrants - it can be split further later, if need be. First, select the rightmost diamond button on the top bar:

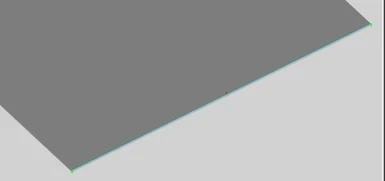
Now, if you move your cursor over the mesh, you'll see the triangle lines appear when you're over one. If you click, it will insert a new vertex at the midpoint of that edge.

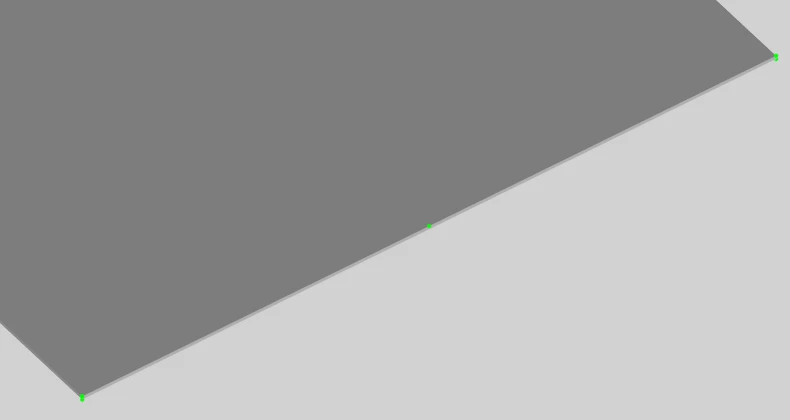
Since we're planning on breaking it into 4 BSTriShapes, repeat this on every edge, on the diagonal so there's a vertex in the middle, then repeat the process on the bottom and also the sides.

It's important to not miss these diagonals, because otherwise you get some weird triangles when you're trying to split things.
<IMPORTANT EDIT AFTER THE FACT> The above diagonal isn't needed! Instead, use the "flip mesh edges" button instead, and use it on the long diagonal. It will switch the diagonal to the vertical, and you won't have to add that extra vertex. This is much cleaner! I really wish I'd realized this sooner! Don't make my mistakes! :D
Sidenote: This was a case where I found, while writing this, switching to wireframe view is actually quite useful! It allows you to see where all the diagonals are, so you can use that "swap diagonal" button to get the smallest number of triangles possible for masking:

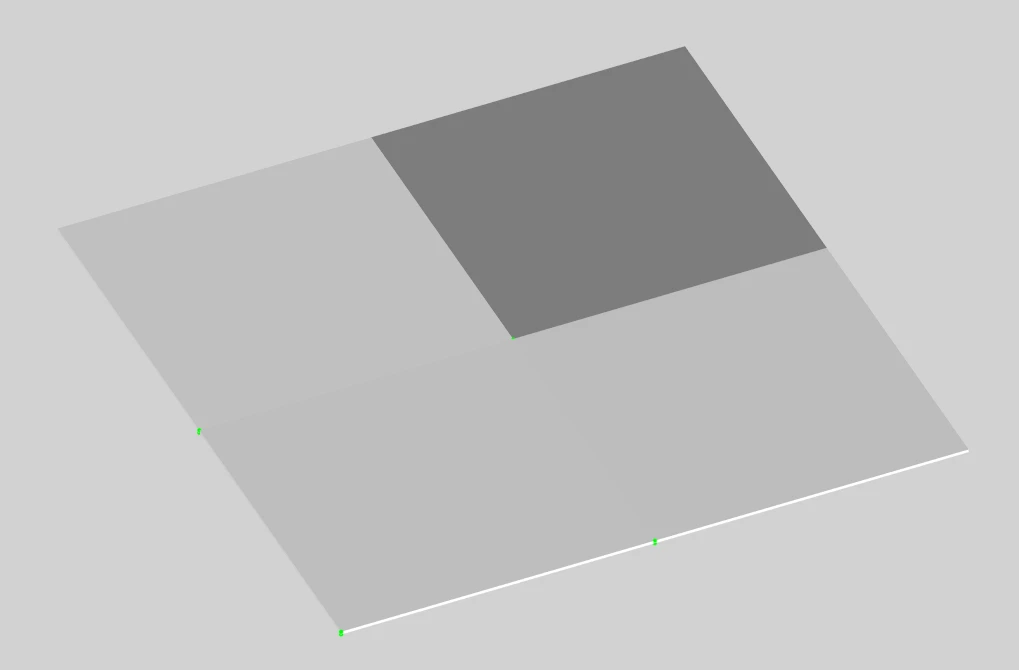
So now we mask, and then split:
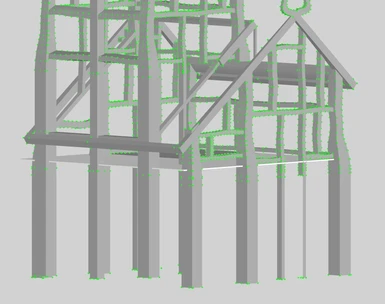
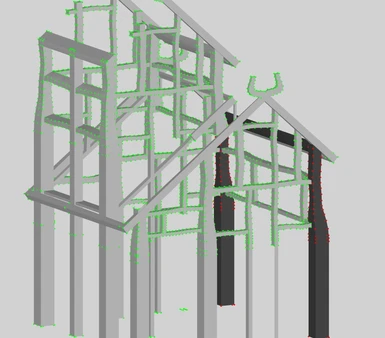
Now all that's left is frame. Let's take a look.
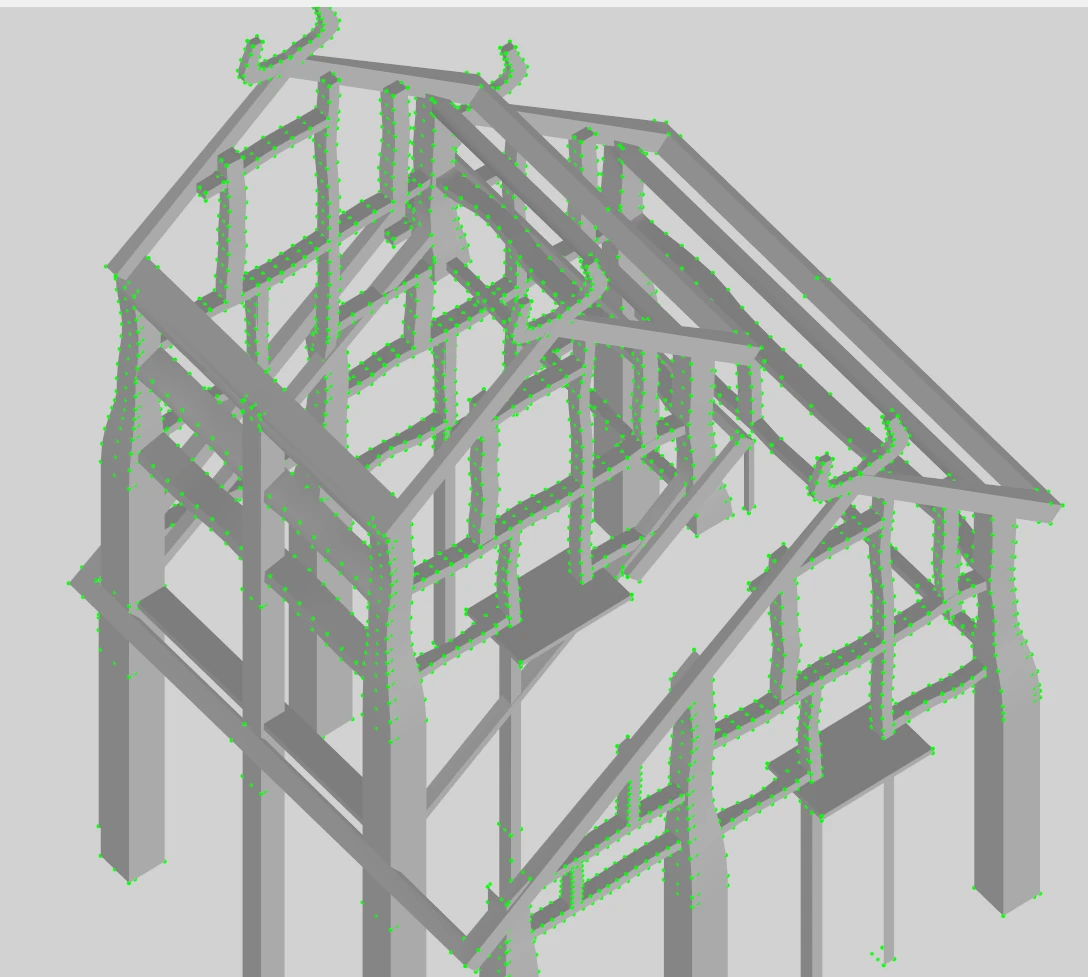
AAAAAAAAAA.
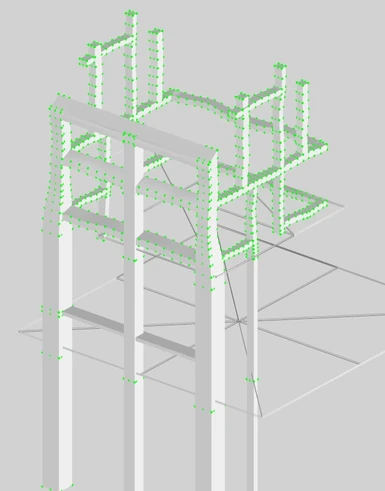
Erm...ahem. Okay, so this may not be as bad as it looks - despite overlapping, sometimes the geometry aren't the same "part." Try to highlight some and press D - get a feel for what shapes are actually connected. For example, here's a few pieces which are fully highlighted which are disjoint from everything else:
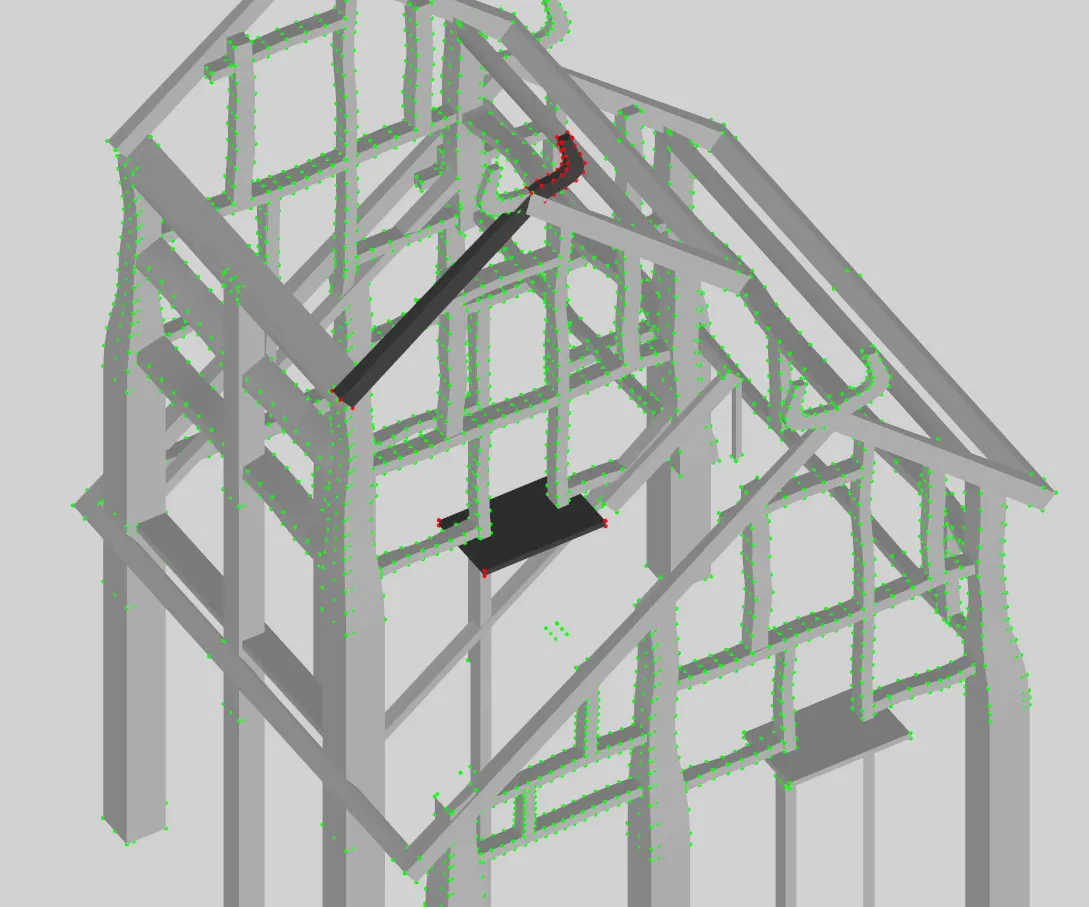
Break them off individually, and hide them. Every little bit makes the rest easier.
So with those out of the way, here's our situation. I've added the floor back in for context:

So now, notice all that frame below the floor. I don't care if there's light flickering in a place I can't see - one option is to remove all that. This is a case where it's a bit tedious, but probably best to highlight the individual pixels we want. You can click and drag generally and get a lot at once, but that way you don't risk drifting stuff above the floor. The real hard part of doing this is not accidentally clicking somewhere higher in the frame. I messed this up, so I rolled back to before doing so, and will proceed a different way, but it's an option, and something to keep in mind for later. So we effectively have 7 major blocks. Let's call them Upper Main, Lower Main, side frame, upper ceiling, lower ceiling, and center1 and 2:
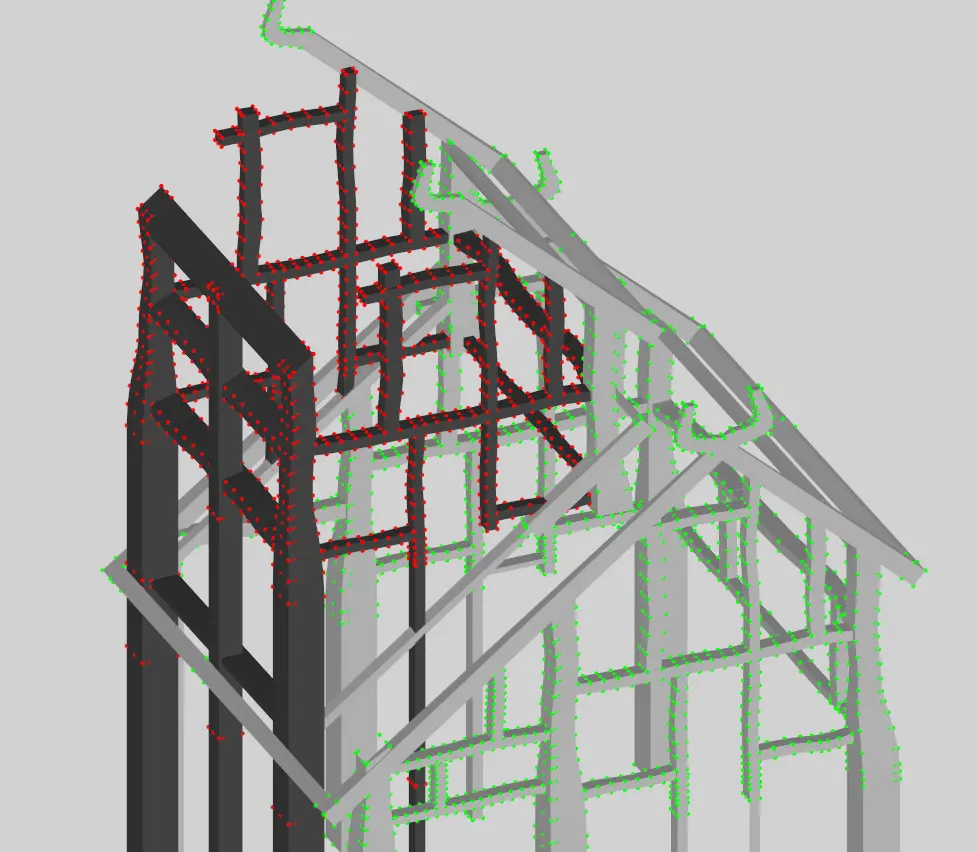
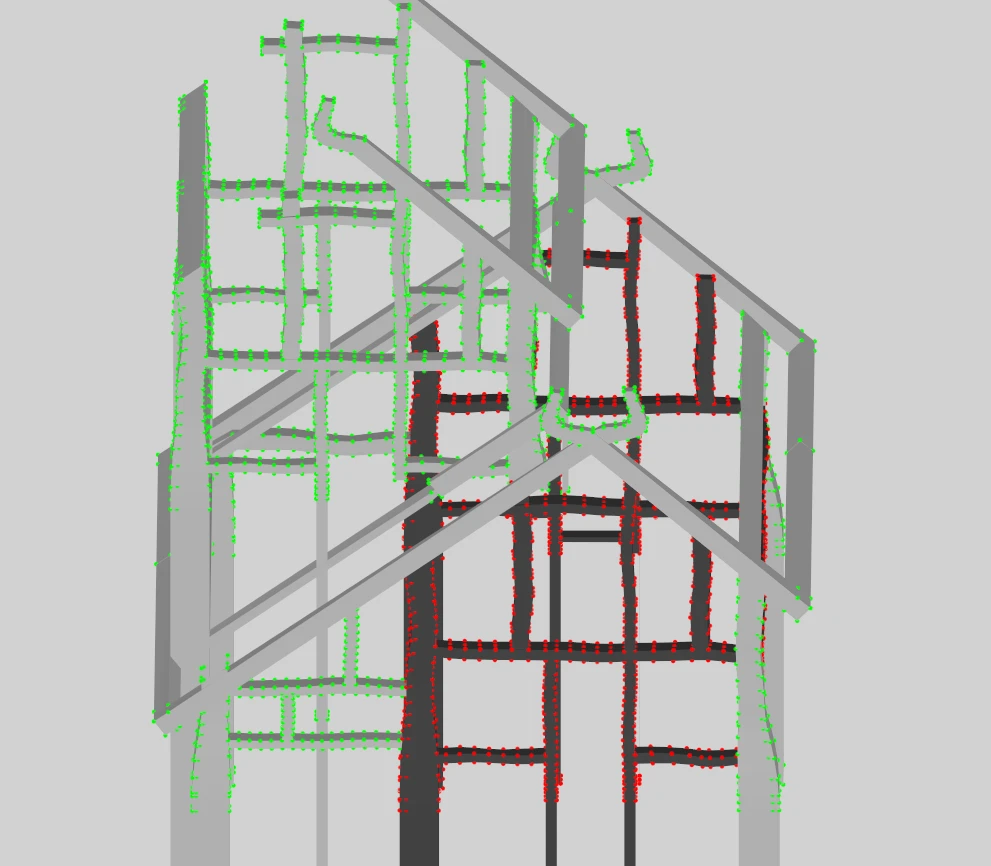

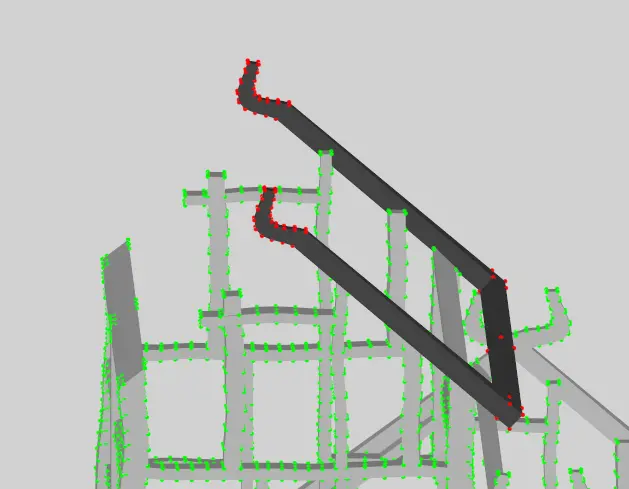
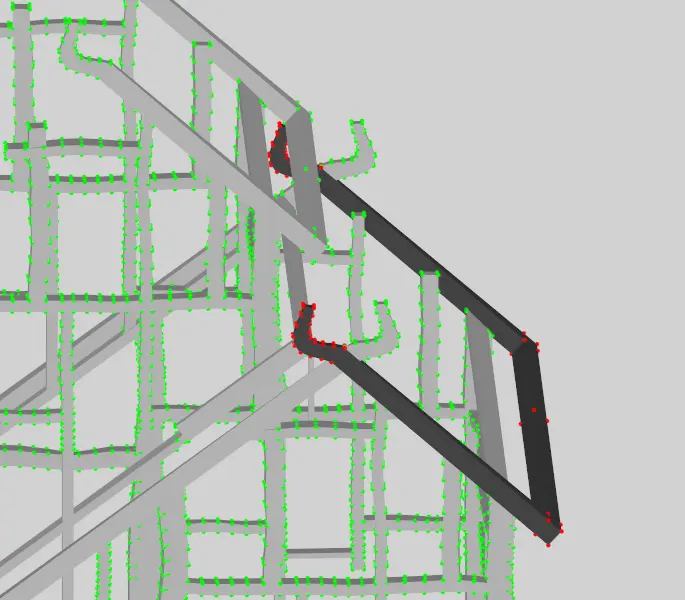
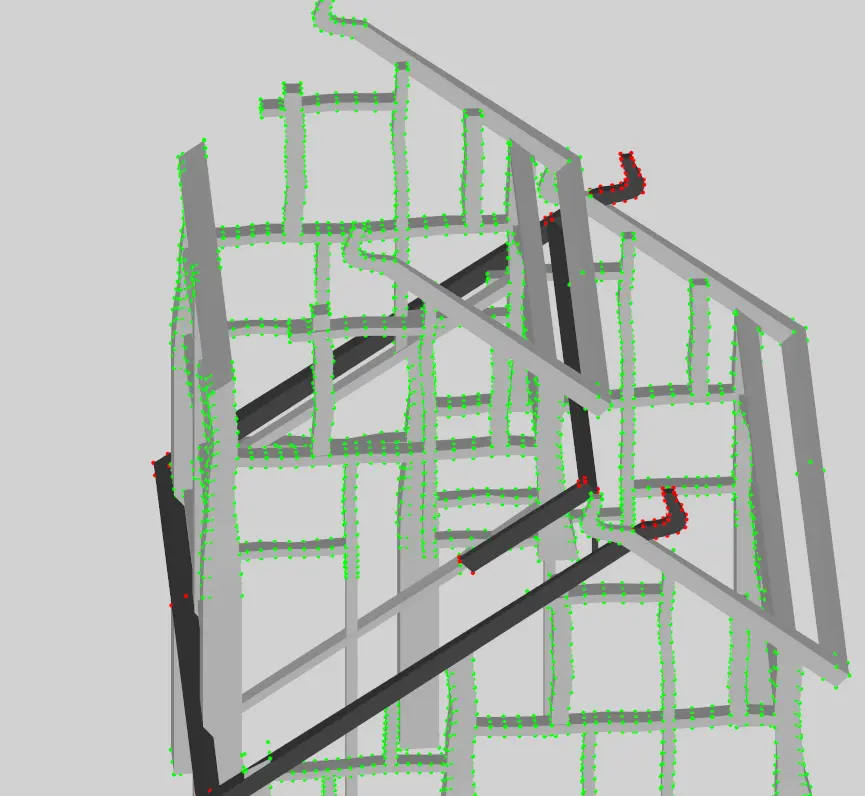
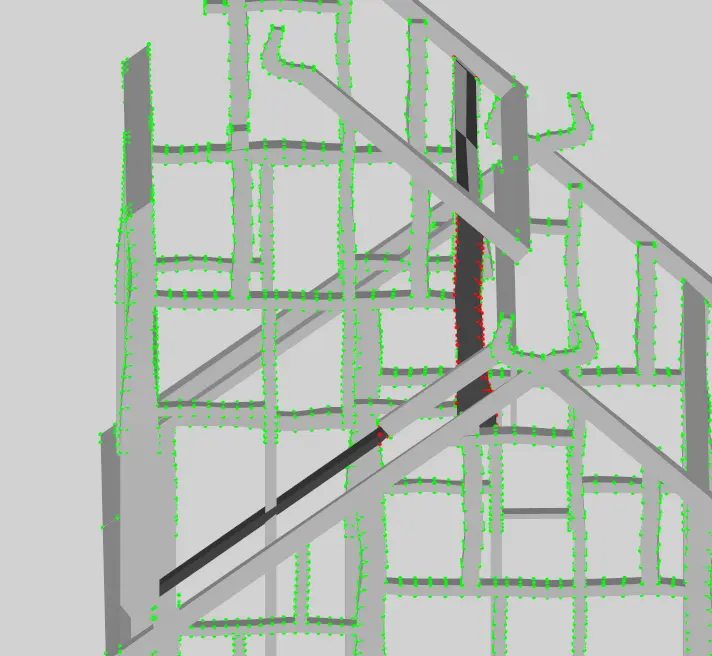
So now, the next step is effectively "is there really any reason we absolutely want these pieces to be part of the same BsTriShape"? And honestly, there are some cases - those below the floor cases we've talked about, some areas where rails are right next to one another, etc. It'd be convenient. But is it necessary? Not really? So I'm going to split these 7 from one another, so we can work on one at a time. Divide and conquer.
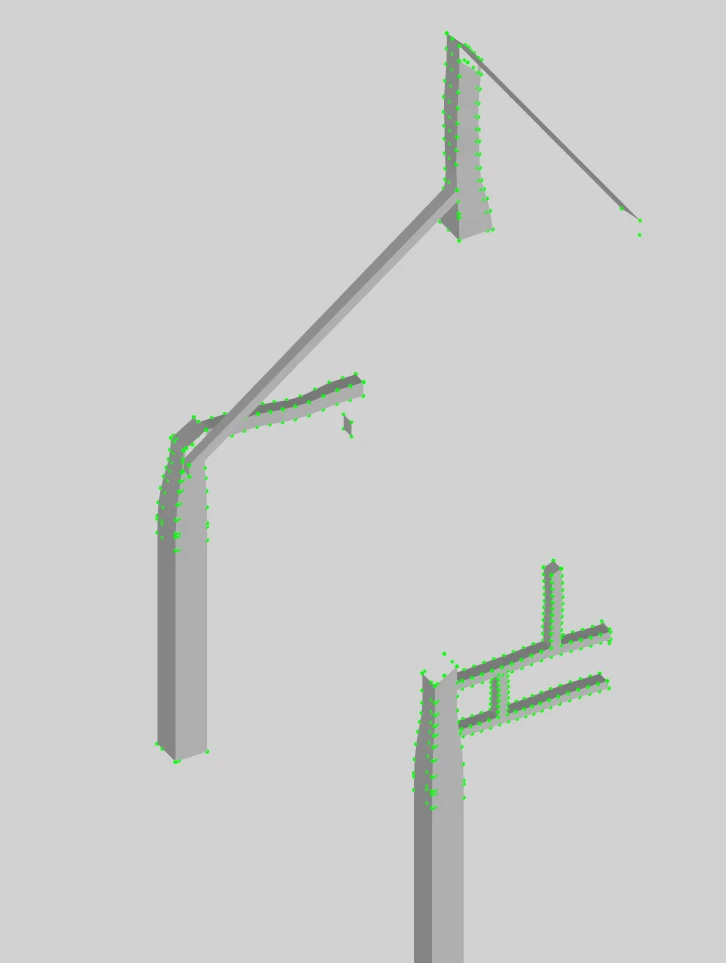
And just to highlight what a rat's nest that was: hey, look, there's 3 more, plus two little squares.
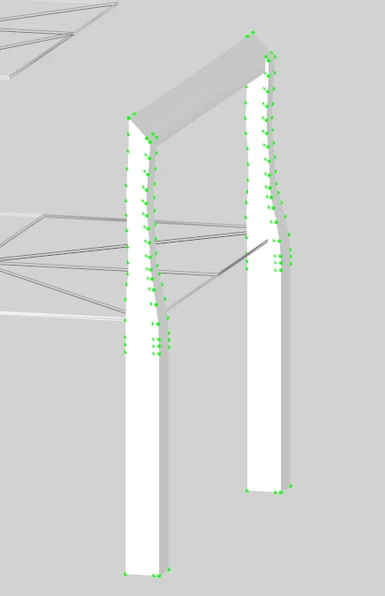
Now, for those two corners, if we compare to the floor: they honestly look fine by themselves. Let's cut them individually, and those bits of frame are "done." Ditto for the couple random extra squares. But looking at that last bit:
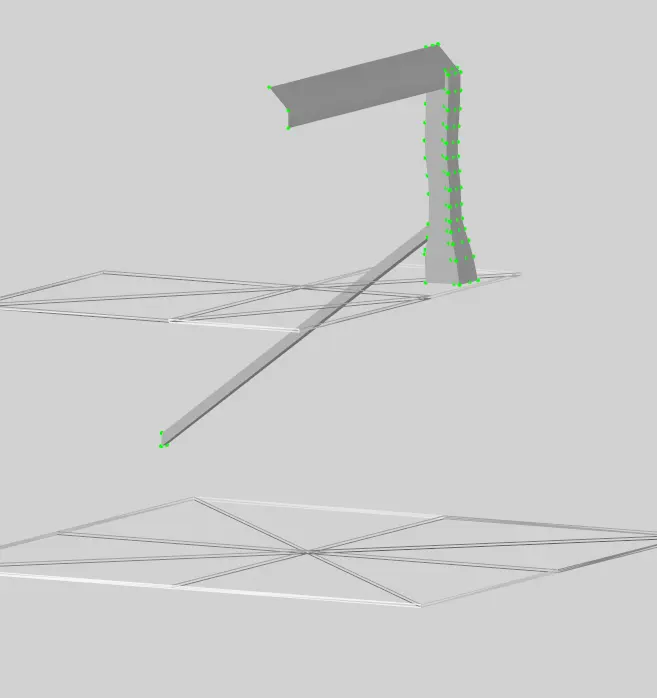
It almost looks like a guardrail, a back wall, and a ceiling beam. They all feel like they should be "separate," and it's right in the middle of the design, so there's ample possibility for multiple lights hitting parts of it. Let's chop that into 3. Next, let's look at the side frame - it's all off to one side. We can chop it up, but this is an example where it seems improbable we'd hit the lights limit, so let's leave it be for now - simple enough to come back later.
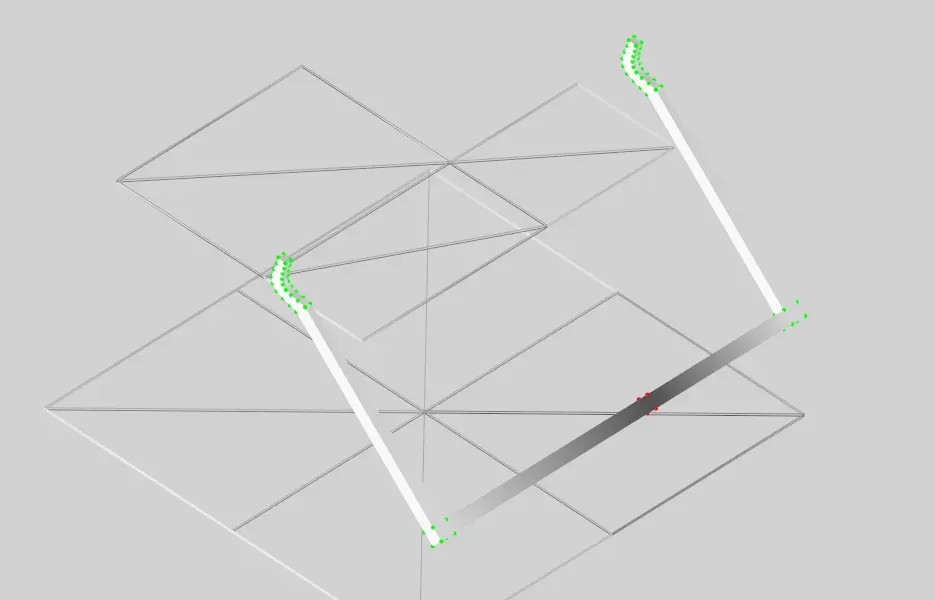
Next up is Lower Ceiling. Now, because this extends through the middle of the building, where it's possible for both upstairs and downstairs lights to hit it, it probably warrants breaking into 3. But this is an example of where we can start in the middle and make things easier. Just highlight those four vertices, separate THAT, then you can just max out the other shapes to separate them.
Upper ceiling, on the other hand, ISN'T in the middle of the room, so let's keep it as one shape for now.
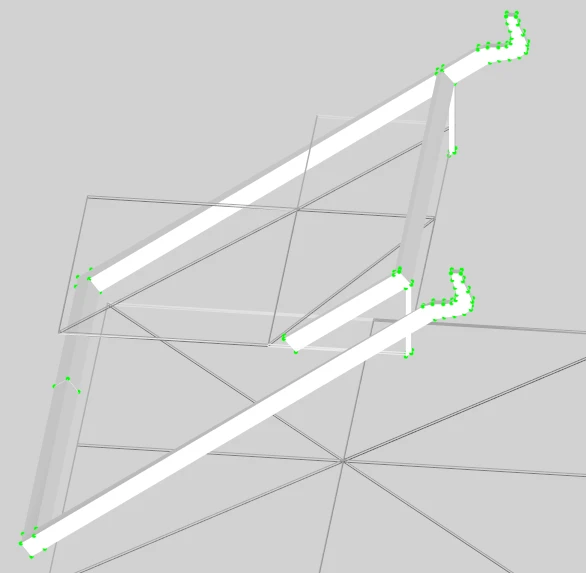
Center 1, on the other hand, wraps ALL around that center. Let's break it into 4 - front back, lower, and center.
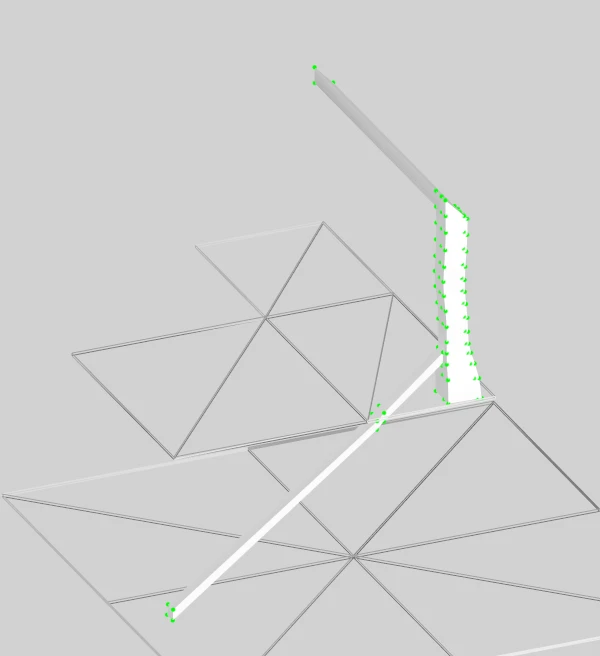
Center 2, meanwhile, looks like a mirror of the guardrail/back wall/beam. Let's break that into three as well.
So that leaves us with two more: Upper and Lower Main. Let's start with Upper:

Now for these, it's also important to think about the room layout. We've got that alchemy station in the corner, for example. But really, only the outer wall covers both upper and lower floors. This looks like the best way to separate it would be the four walls, and then separate out that one pillar in the center of the room. So let's start with trying to break it into pieces we can highlight the hard parts, so start with the two center beams. Probably easiest/cleanest to highlight the vertices:
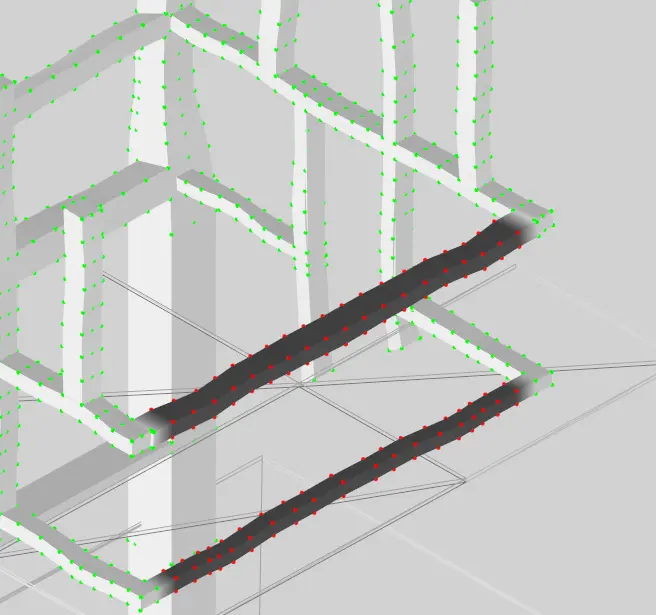
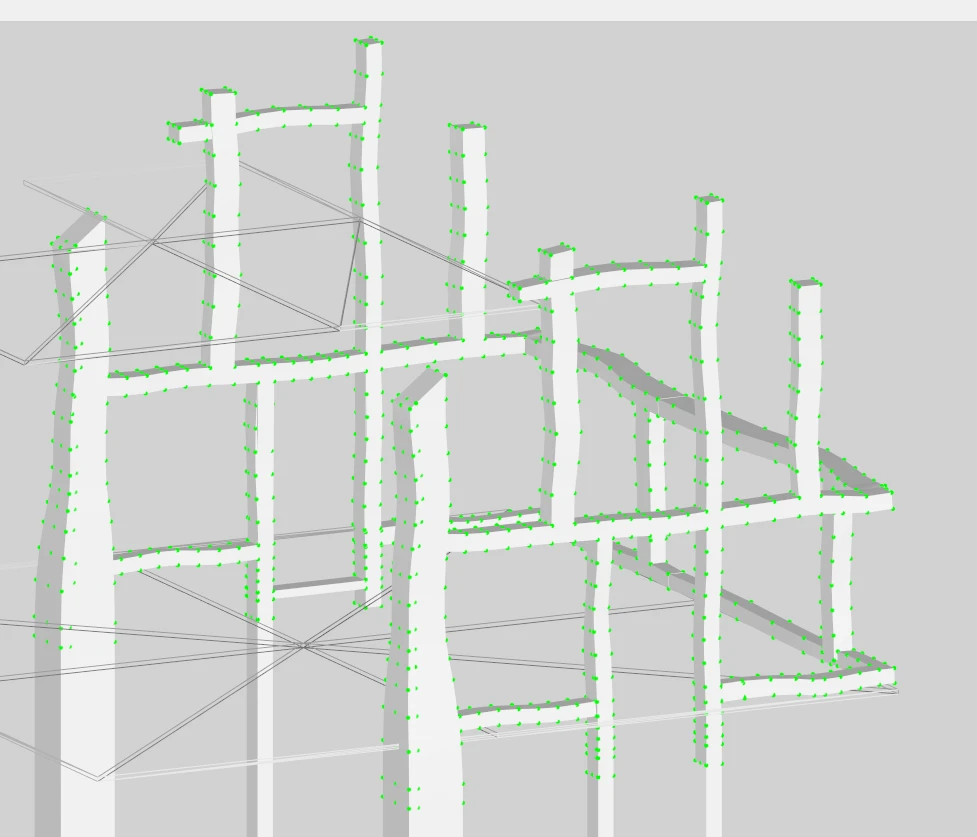
And then let's do the opposite wall, but get it mostly covered via a little trick. Mask one triangle at the bottom of each column, then press D - let it cover everything we want, then press A, which will make it retreat, but only off of the walls we DON'T want, because there's no "unmasked" section to grow on the wall we want any longer. Then clean up by selecting/deselecting vertices. Dead serious, I didn't actually have to do any cleanup here:
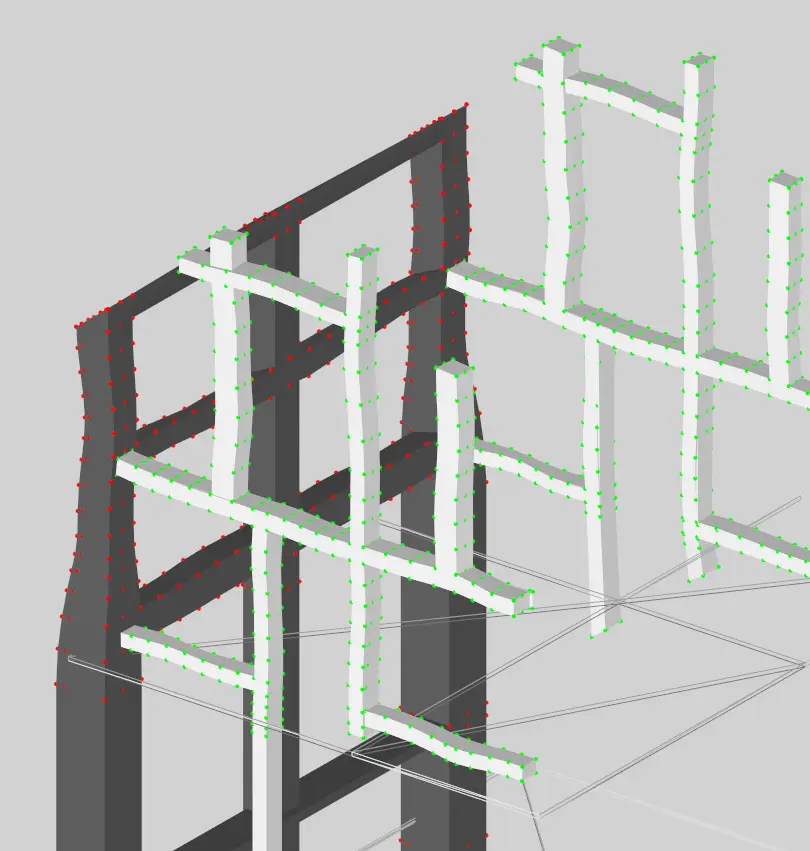
And that makes separating the last three rudimentary, so I won't take shots. Now we have our one remaining main frame. And truthfully, that one looks largely the same - could be separated into the three walls. We might need to separate things a bit further depending on interior lighting with how high some of them go, but that's something we can revisit if necessary later.
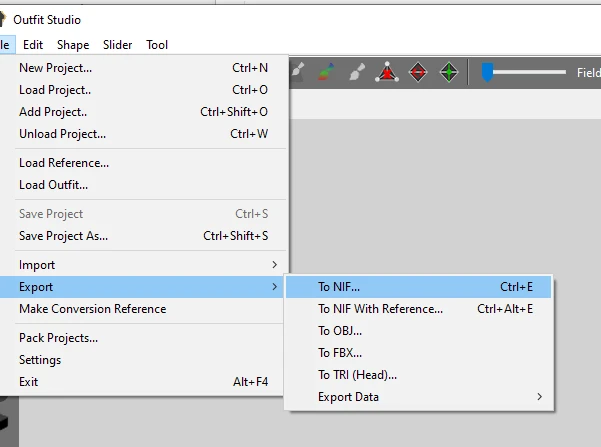
And....that's largely it. Go File > Export > NIF, choose your name, and that's that.
Now try opening it in nifskope:
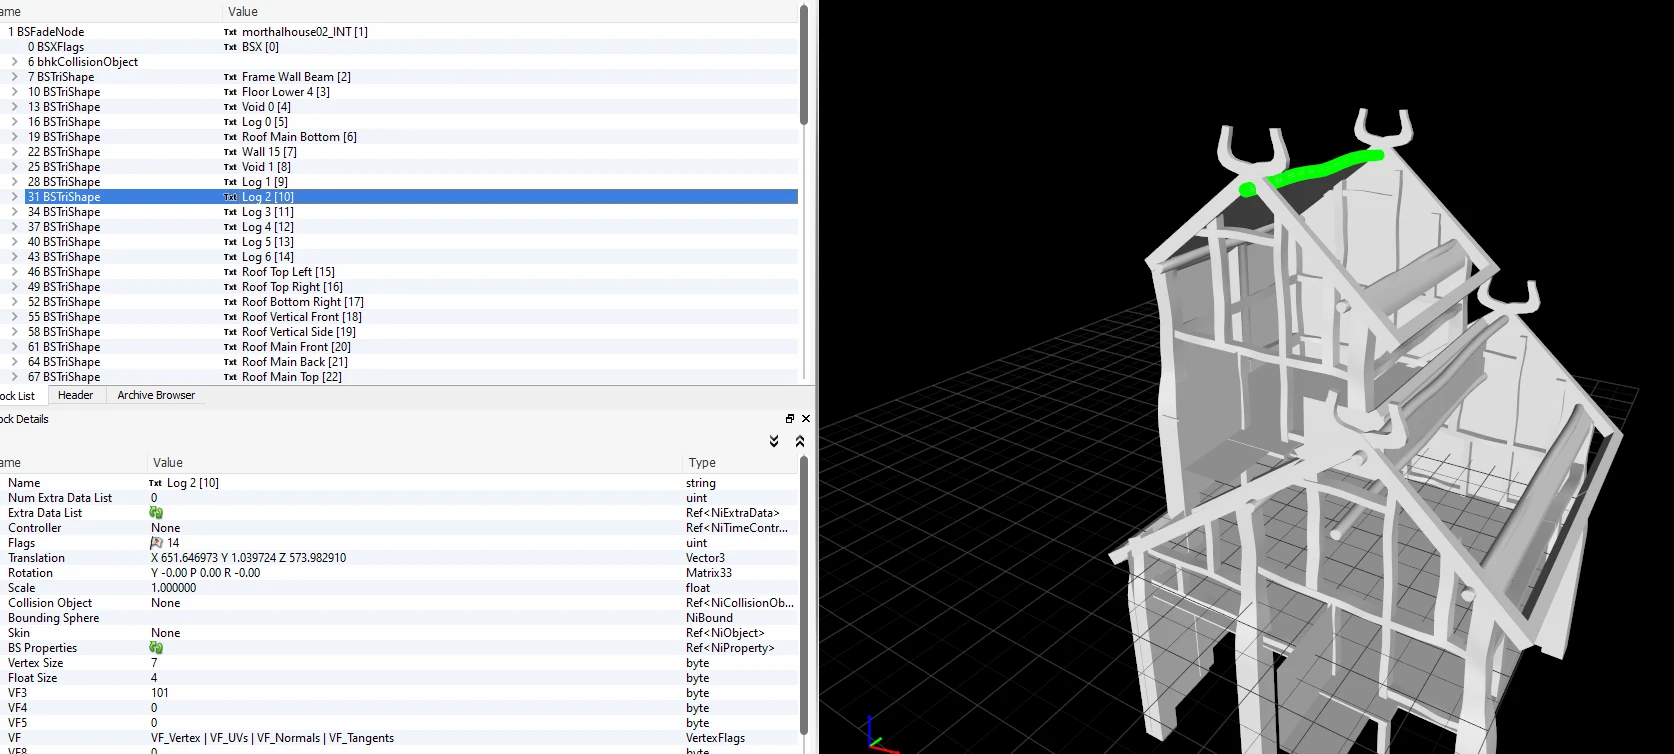
You should see the whole building, but with a bunch more BSTriShapes on the left. Congrats! Final step: save it in nifskope again. I have zero idea why, but the meshes wouldn't load for me when I tried to do so without re-saving in nifskope as opposed to just using Outfit Studio. Try booting up the game, or opening CK, with your new assets winning and make sure everything looks correct. Now you're ready to give that lighting a go! But that's beyond the scope of this guide. Let's move on to the next building: the Inn.
I'm not going to be posting constant shots, just demonstrating some cases where we do something different. The Inn is less uniform a building, but rather very long and thin, with a partition up the middle. This has some implications for lighting, as there's many BSTriShapes that go the full length of the building (which would be different light "regions" so to speak), and also because there's that partition, so even on a single end, there's liable to be multiple sections with lights.
So first off, void is fine as-is. Just disable it.
Now with Logs, we see what we were talking about - they're individual items that go the full length of the building. The top two are so close to one another they should be considered combined, and looking at the length, I'd ballpark it makes sense to split them into three regions - the section of roughly the first two cross-bars, then the next three, and then the final two. And finally, the beams don't go over into the room section of the inn, so we should hopefully not have to deal with that. So here's the before:
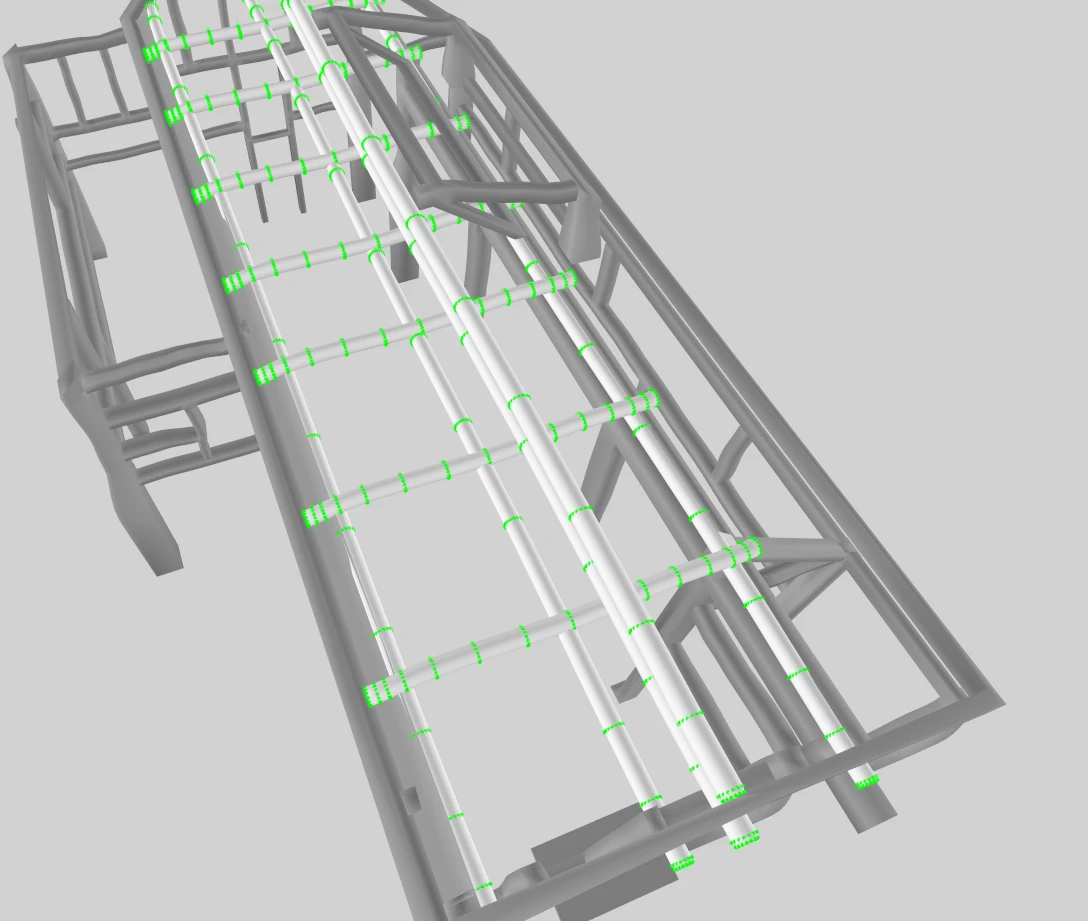
And after:
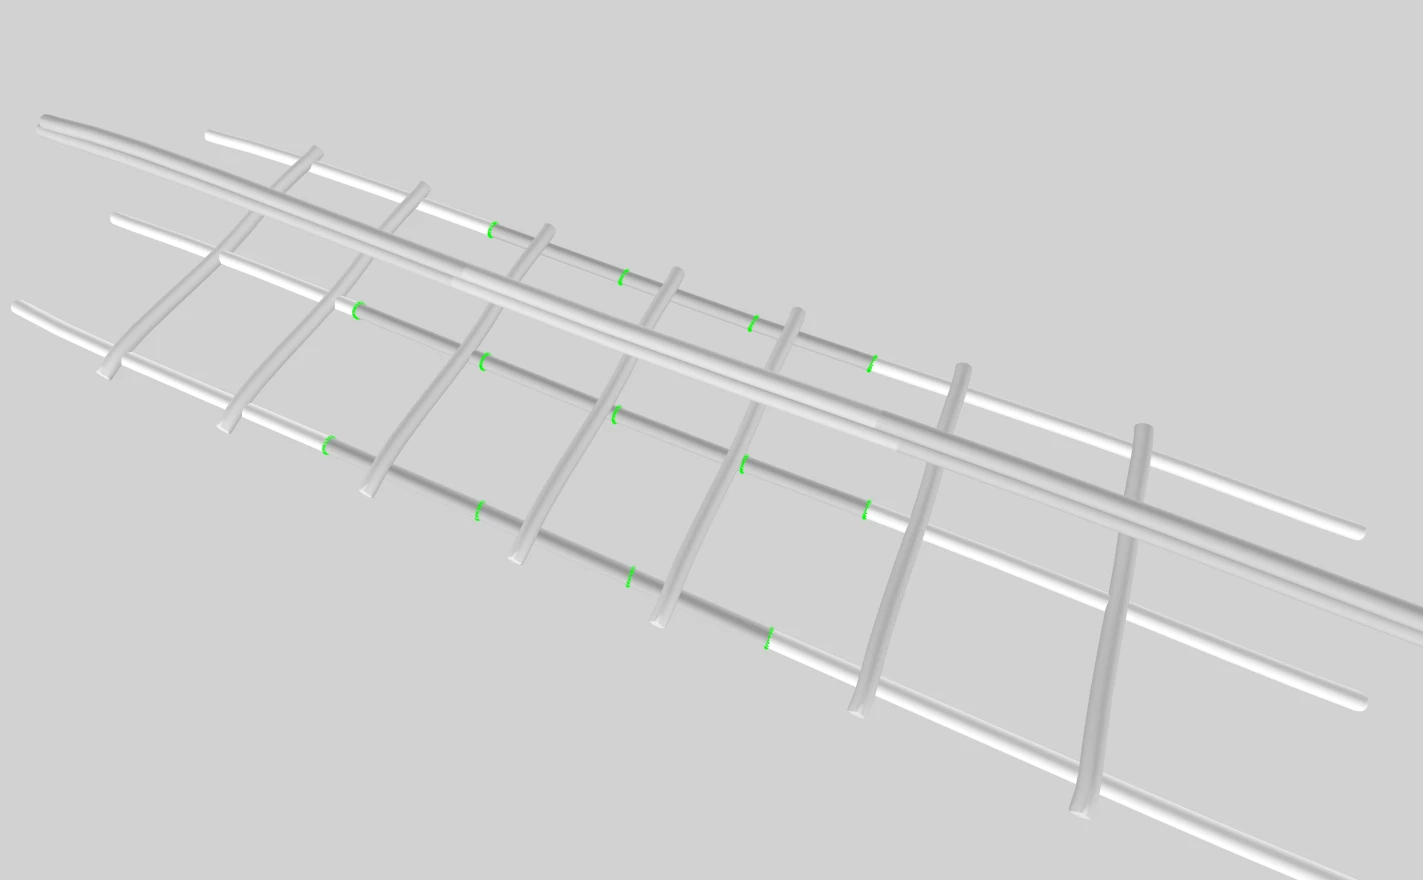
Conveniently with these, we can start at one end and just extend the mask.
Roof is largely the same as the previous one. For one the two long panels, it's conveniently split into three sections, so I'm taking advantage. For the other, unfortunately, we will need to separate it the way we did the floor - let's just do that one in halves, it should be fine. Walls, same deal: most of the separated panels work fine independently, but the large partition in the center, and the right back wall go basically the whole length of the building and need to be split.
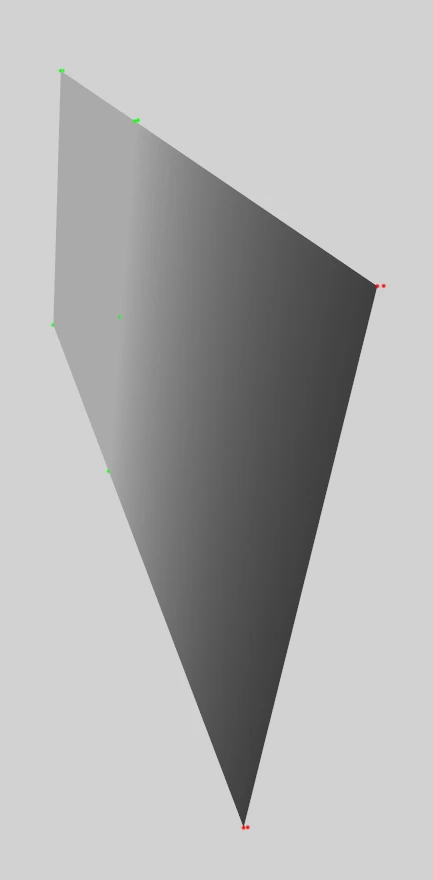
The main thing to remember is that the center partition is two-sided, and both sides need to be split. Technically speaking, it's two one-way panels, but the space between them is very small, so we might as well keep them together.
So now we get the floor. Its primary problem is that there's no partition for the rooms and the dining area - so we should seek to split it horizontally. With that, it's easy to break into 5 pieces - the kitchen, and 4 quads.
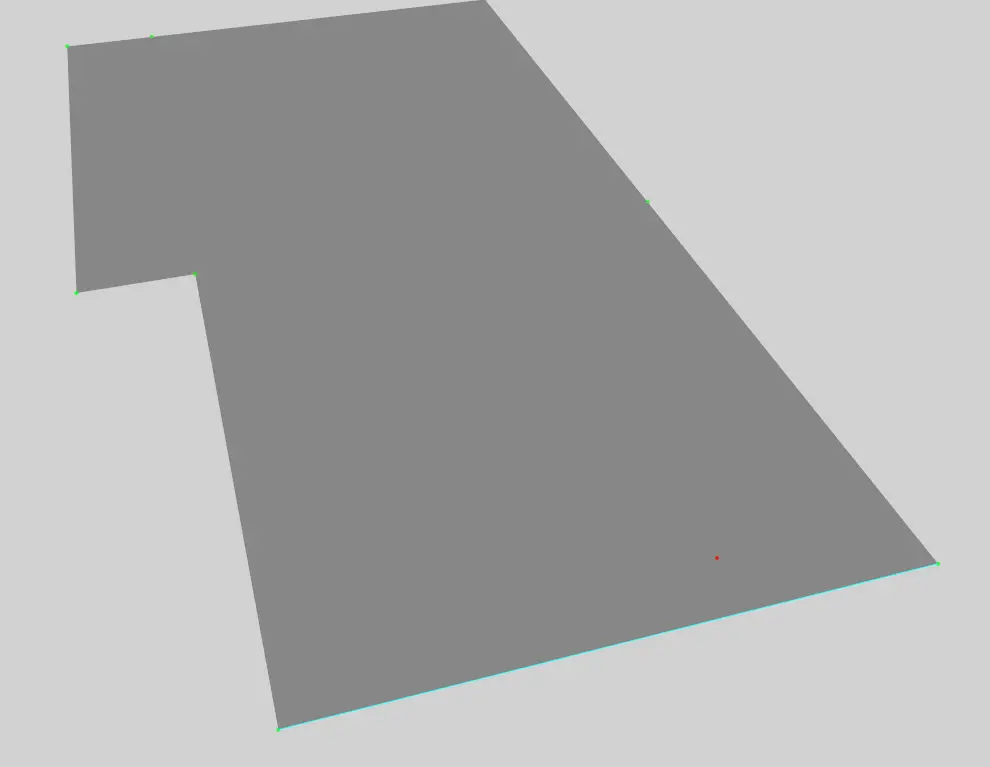
And with that, all that's left is the frame. And honestly, despite there being a lot, this time it's a lot less intertwined, and some of the sections are convenient unto themselves.
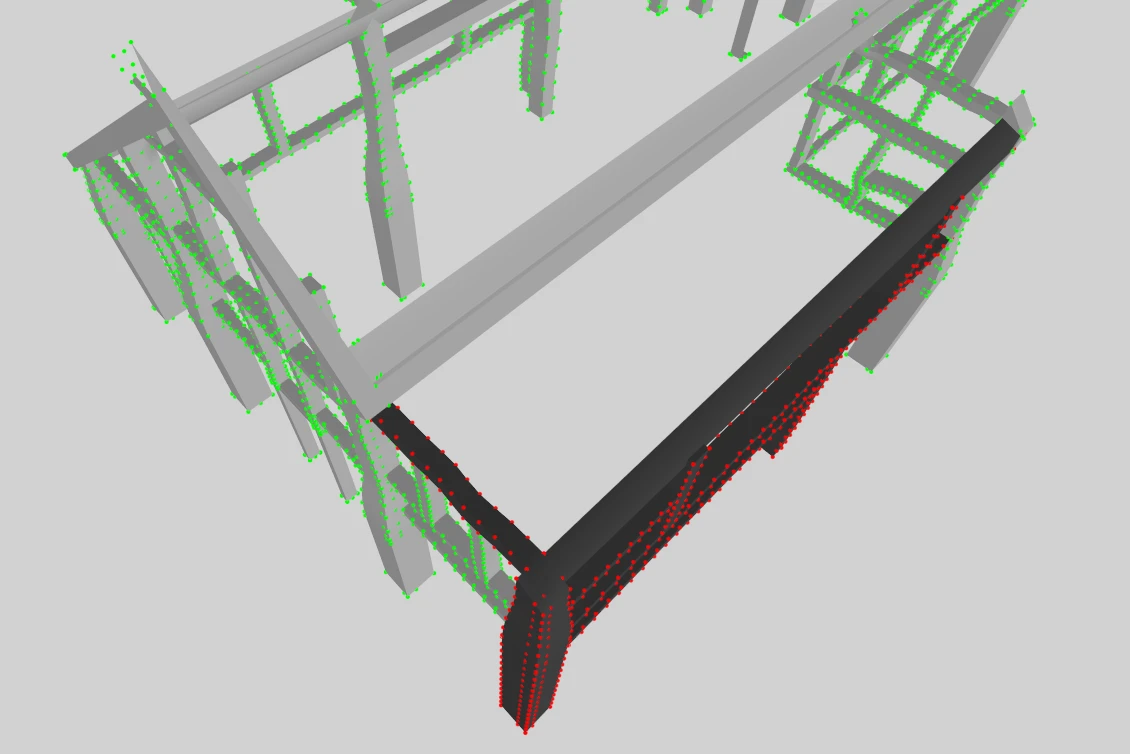
Its primary problem are all the single pieces that run the length of the frame. So it becomes a game of trying to remove those so we can work in specific regions, and then we can break up those further into front and back. And truthfully, because of the single-direction and in some cases overlapping of these things, it's not the cleanest to split - I had to do some in parts, which is sub-optimal.
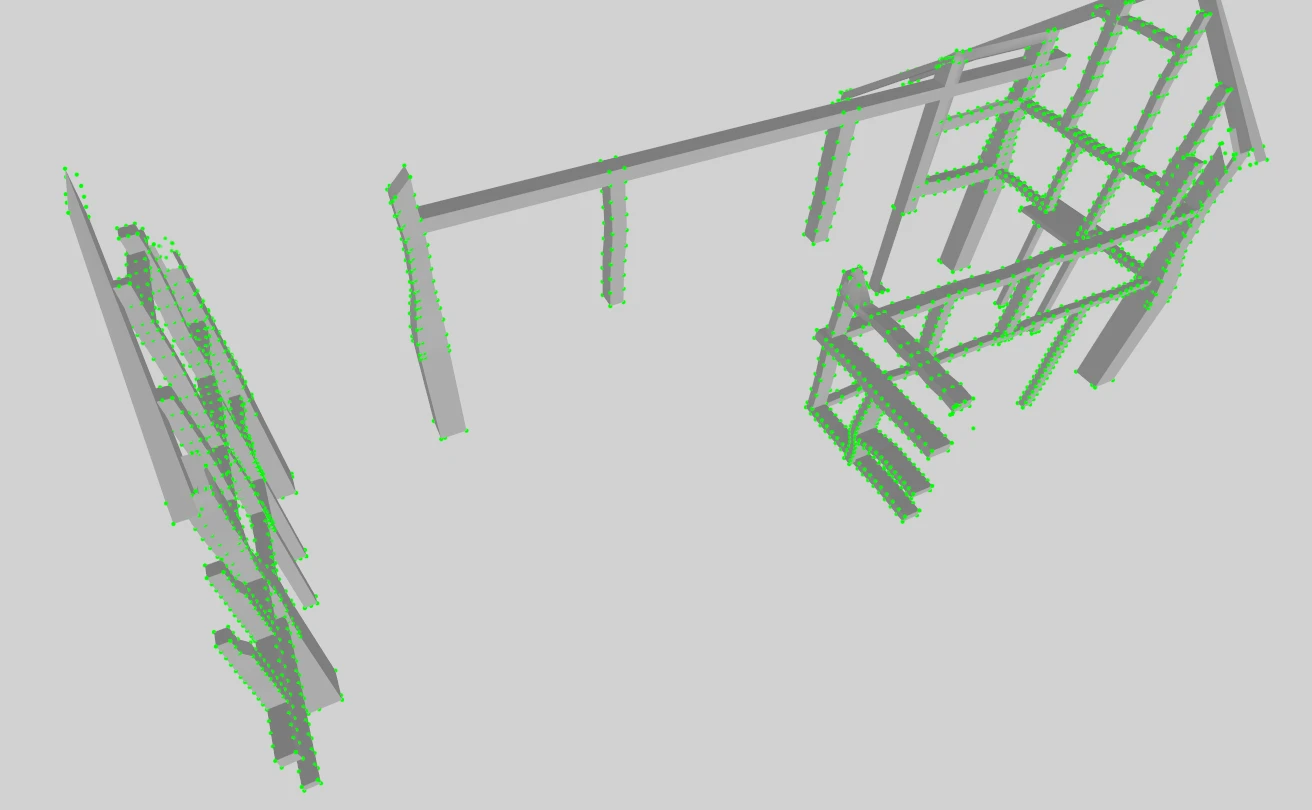
After that, everything is basically what we have already done: break the frame up into appropriate sections, then make those long ones visible again and break them in two so they don't run the full length of the building. And this point, I ran into a problem which had something to do with overlapping triangles, and Outfit Studio wasn't letting me partition them, and I'm not sure how to fix it! So we'll just have to be cognizant that it's a potential problem for lighting, and try to work around it, at least for now.
I'll leave it there - if anyone wants to try hard mode, Highmoon Hall is there, too. However, its difficulty came less from the mesh itself (it's actually in many parts already!) and more with how many floors there are, to have to deal with lights on different floors "interfering" with one another. But that's a whole separate problem, and one which one of the lighting experts is FAR better to comment on than I am :)
