The ability to add automation to your smart home via Google Assistant Routines is one of its most powerful features but that doesn’t mean learning to manage or set those up is necessarily easy. Routines can perform a myriad of functions. From turning on or off lights automatically to setting shower temperatures or turning on the smart stove. Or, of course, for more mundane things such as playing music for the kids at bedtime automatically.
But none of that, as we’ve said already, is easy if you aren’t familiar with the technology. Conversely, even if you are familiar, in theory, but don’t know where to look or what the terms used mean, it can be challenging.
Well, you’re in luck. That’s exactly what this guide sets out to do. So if you want to manage or set up Routines for Google Assistant in your smart home, read on.
Here’s how to manage your existing Assistant Routines
The first thing you’ll likely want to do when you’re set to manage new Routines is to change those Google already includes. Not least of all because you may want those to do what you want. Rather than to perform their default actions as set by Google. So this first segment of this how-to guide, as with many of our walkthroughs, will start with managing what’s already there.
- Start by opening up the Google Home app. That’s where your smart home products should be linked to your account and to one another. So that’s where Google Assistant Routines will need to be set up and where you’ll manage them
- Next, near the top of the page, select the “Routines” chip, that’s indicated via a slashed-through sun-shaped icon
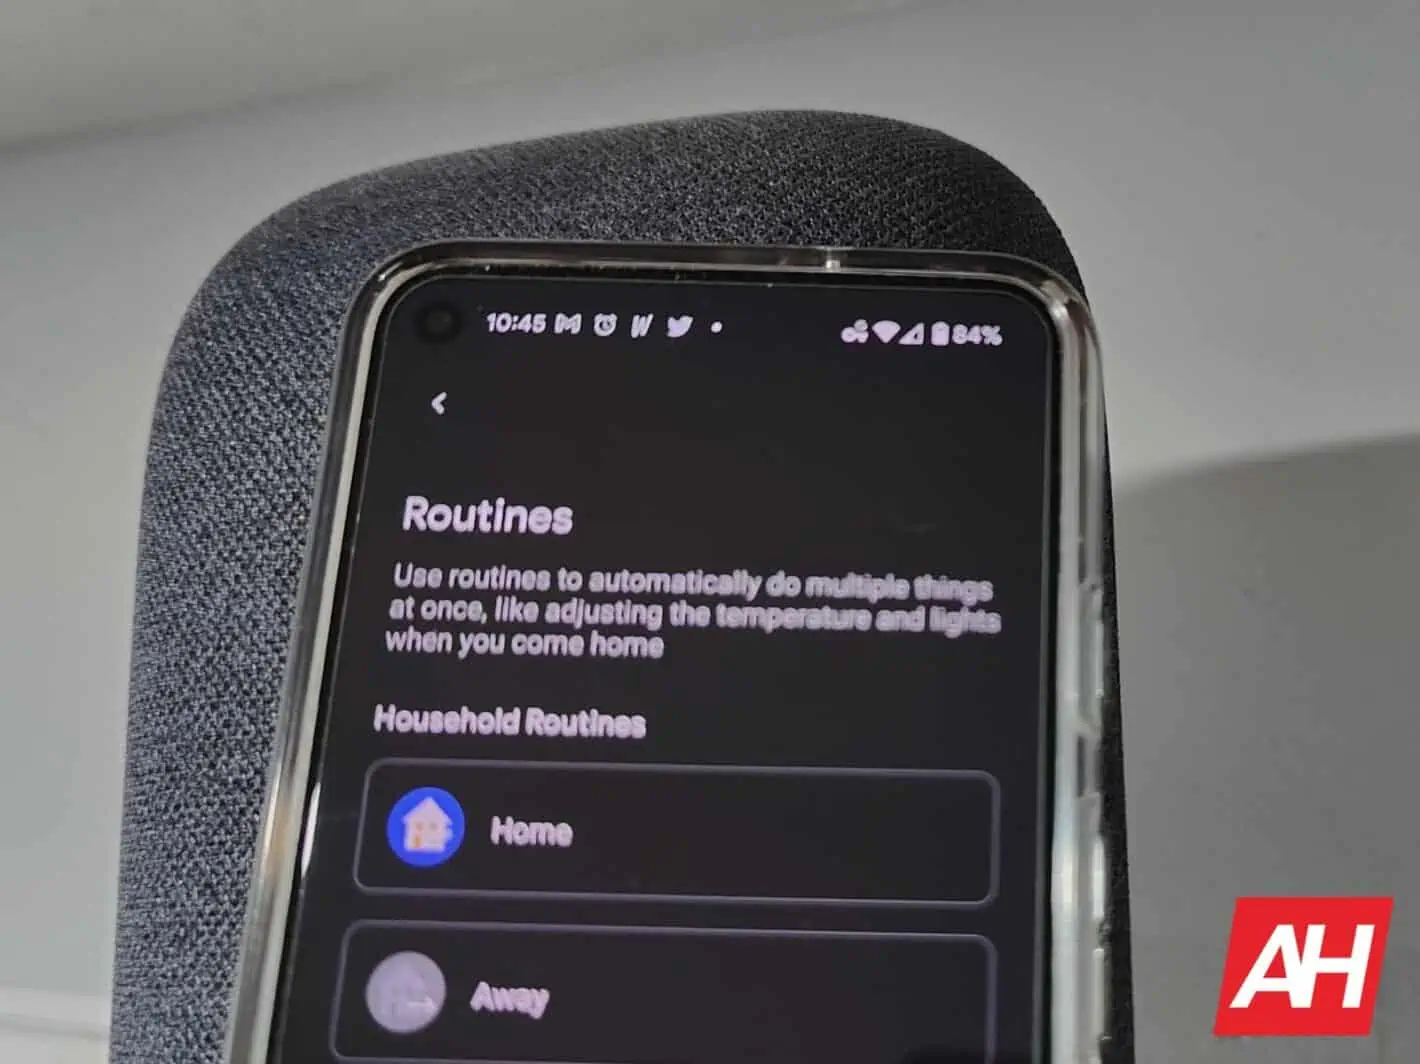
- Within the Routines menu is where those you’ve already set up will be managed, deleted, or played manually. It’s also where you’ll add Routines to your home page or make changes to those you’ve already set up and more — in terms of how you manage routines for Google Assistant. Such as changing which device actually commands the Routines to run. We’ll cover that in-depth here
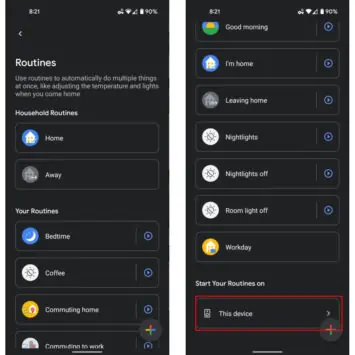
- The first thing to note in the Routines menu is that, at the bottom of the page, you can control where your own created Routines will run. If you plan to be at home when your Routines will run, you should probably set those up to run from your smartphone. As we have in the example images below. Otherwise, select to run them from a device that’s always on such as a speaker or smart home hub
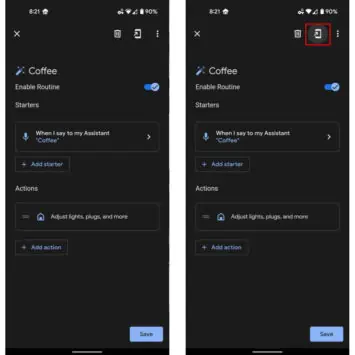
- Once that is set properly, we can manage a Routine that’s already been set up. Select the Routine you’d like to manage from the list. In this case, we’ll be managing a “Coffee” Routine that we no longer need
- Among the first UI items that you should notice is a phone-shaped icon at the top right-hand side of the page with an arrow in it. That icon lets you add a shortcut widget to your home page, as shown in the images below. That way, you can launch the Routine manually without voice commands and without opening the Google Home app. You may click and drag the Routine to add it to your home page or tap the “Add to Home screen” button. In either case, the widget will then be added to your home screen
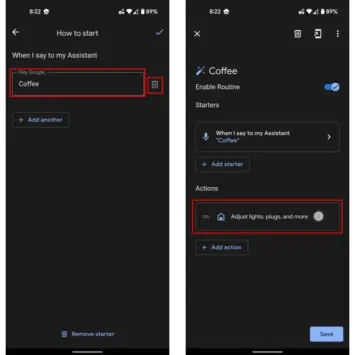
- You can also manage any of the “Starters” or “Actions” associated with the Routine by selecting currently set starters or actions. That includes, as indicated by the trash can icon in the images below, deleting starters and actions. In the former case, the Starter is an action, trigger, or voice command that starts the Routine. An “Action” is what the Routine will do. In our sample images below, our Starter turns on a smart switch, activating the device that’s plugged into it
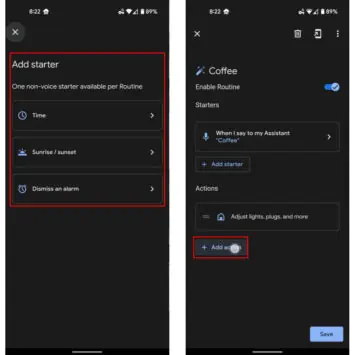
- You may also add a Starter by pressing the plus-symbol embued “Add Starter” button. As shown in the images below, that allows you to add a voice command or to add a starter that’s based on the time of day or when you dismiss an alarm. Actions can also act as starters via Triggers, which we’ll discuss momentarily. But this is where you set the initial Routine start
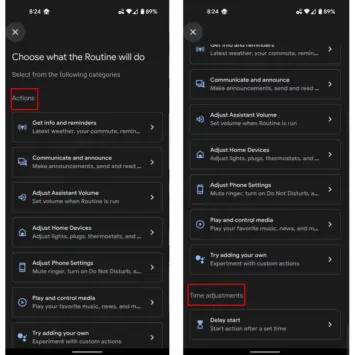
- Next, you may add an Action by pressing the “Add Action” button, containing a plus-shaped icon. That includes, as shown in the list of Actions below — ranging from starting a device to playing something on a device and running custom voice commands or strings of commands as triggers for other Routines — the ability to delay the start of other Routines. Effectively allowing users to bypass the usual start for Routines at a command or trigger
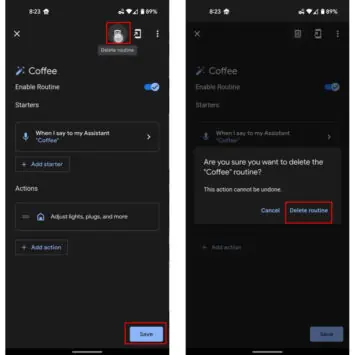
- When you’ve finalized your changes, press the “Save” button at the bottom of the Routines page. Then, as a best practice, test the Routine using a manual trigger to ensure it is working properly and as expected
- If you no longer want the Routine, Google won’t force you to keep it. You may choose the trash-can icon at the top of the page and then confirm your decision with the “Delete Routine” option when it’s presented


…or set up new Routines
Now, you can also create entirely new Routines. And this segment of the guide will walk you through that process.
- Now, this segment of the guide works much like the first above. Namely, you’ll start by opening the Google Home app and tapping the Routines icon. But, this time around, we’ll be setting up a brand new Routine
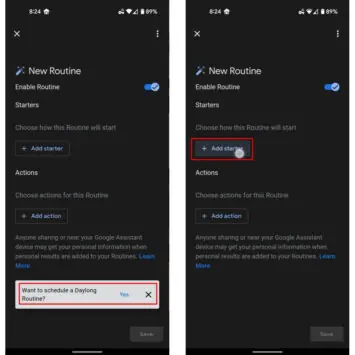
- Next, you’ll select the “Plus” icon at the bottom of the page to add a new Routine
- Upon doing so, Google will present a newly-added card. That provides a “Want to schedule a Daylong Routine” option and appears at the bottom. And allows setting a Routine to trigger different actions at different times of the day. So, if you want to create a Routine that functions in that way, you’ll need to start by pressing “Yes” on that option. Or you can close that option by pressing the “x” icon
- Next, we’ll add a starter, much like in the examples above, by pressing the “Add starter” Button
- Google will present a list of options including Voice commands, Time, Sunrise/sunset, and when you Dismiss an alarm. The options will vary depending on whether you’ve selected to make this a Daylong Routine or not. But the on-screen prompts are fairly easy to understand and, in fact, self-explanatory. Follow the prompts to add your trigger that will start your Routine
- After setting up your Starter or Starters, Selec the “Add action” button next. Google will present the same menu listed above. Select the action you’d like to set the Routine to automate. Or select “Try adding your own” to enter a voice command or string of voice commands to automate multiple processes at once. For instance, you may tell Google to “turn on the bathroom lights and play wake up music on the bathroom speaker”
- Select the “Save” button at the bottom of the UI once you’ve selected your Actions to perform
- You can also select the “Play” button next to your newly-created Routine to test it out on the main page for Routines