Sekiro Demon of Hatred - finding and defeating a hidden boss


Some may find that Sekiro: Shadows Die Twice was missing a large flaming beast that can one-shot kill players without a second thought. That sounds like an appropriately Souls-like boss doesn't it? Well if you are one of those who missed those kinds of despair-filled fights, don't worry; there's a boss fight that might just be for you.
Those new and old to the library of From Software may wish to know more tips and tricks to get started, as well as some of the more complicated things that can occur while playing. Head to our Sekiro: Shadows Die Twice guide hub for everything you need to know.
There is now a dedicated Sekiro: Shadows Die Twice boss where you can find tips for the many bosses of the game. You can also look at the previous boss guide - Sekiro: Shadows Die Twice Divine Dragon.
Sekiro: Shadows Die Twice Demon of Hatred guide
This guide will show you where to find this boss, before giving you tips for how to prepare for and defeat all three phases of one of the hardest boss fights in the game.
Where to find the Demon of Hatred
Finding this secret boss is not too difficult, but it does require that you are not going for the "Shura" ending as explained in our Sekiro: Shadows Die Twice endings guide. Once you've defeated the previous boss (Divine Dragon), things will have gone to pot.
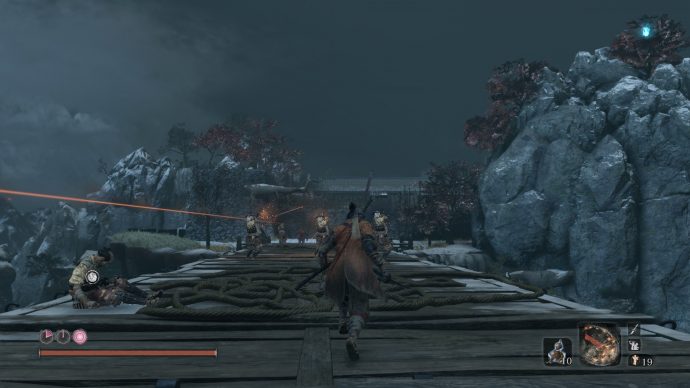
The easiest way to get there after this point is to go to the Idol that is close to the Demon Bell (this information is in the main guide), then head back through the wall with the white silouette on it. Go through the cave and scale the wall with your grappling hook. This will bring you close to where the Chained Ogre used to be.
Head past the Juzou style enemy and backtrack a bit more though the flaming courtyard until you see a Sculptor's Idol. Use it to warp to the battlefield where the Demon of Hatred resides.
Items to bring with you into Demon of Hatred fight
Since fire is a main thing, any item that enables you to resist fire is worth investing in - such as the fire gourd. If you want to know more about the fire gourd, head to our Sekiro: Shadows Die Twice Gourd Seeds guide for its location.
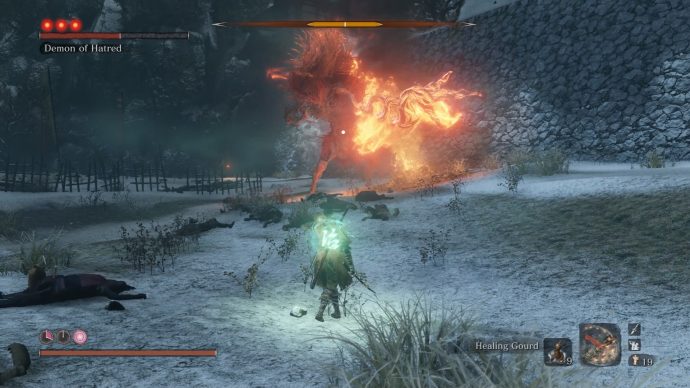
Demon of Hatred's first phase
As the fight begins, run as fast as you can and get close to him for a few sneaky hits. He has a large number of attacks that he can use at a whim. Any time he raises his legs, you'll be able to block or deflect his stomps, but they do a big chunk of posture damage if you fail the deflect. He can also headbutt, but this can be defended against.
When he leaps into the air, you'll need to run as far away in the opposite direction as possible, while keeping the camera trained on him. If you're far enough away, you'll avoid the fire, but also see a grappling hook icon appear. Make sure you latch on as failing to do so will send you flying away. You can get a few good hits in if you manage to latch onto the grappling hook, so it's worth doing.
His more dangerous attack is a five hit combination that begins with a swing of his non-flaming arm. Deflect this first attack, then dodge behind him to avoid the flaming arm. He'll then stomp, uppercut with the flaming arm, then stomp once more. Just make sure the fire doesn't connect and that you parry the rest.
Another powerful attack to watch out for is his unblockable attack. As soon as you see the icon appear, jump over to the left. He'll drag his claw a fair distance. You'll then need to run towards him as fast as possible in order to avoid a sweeping fireball attack.
He does have a few moves he uses at range too. One is a three arm swing combo with his flaming arm, which has him swing twice, before slamming it down before him. He can use the slam on its own too, but these aren't hard to dodge.
What is hard to dodge are his fireballs. If you didn't start the move towards him immediately after he dragged his arm, or jumped to his current destination, begin running away. He'll throw a flurry of fireballs, but wait a tiny bit before running back up towards him as he will throw a second batch should the first set miss and you're running inside his range. This is a bit of a slog, but eventually you'll whittle his first health bar down. It only gets more difficult from there.
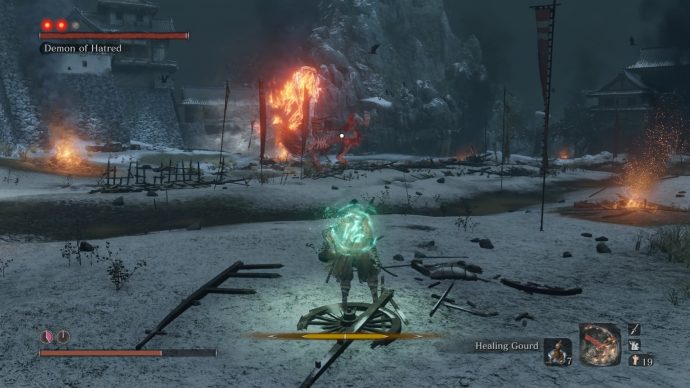
Demon of Hatred's second phase
In addition to his first phase attacks, the Demon of Hatred will get two new ones. He can throw some fireballs that home in on you, so make sure you're running to the side as wide as possible. You may need to jump occasionally to ensure one misses you.
The second attack he gets is far more dangerous and is again used at long range. If you see him wind his fire hand backwards, get ready to jump to the side as there is a massive line of flames that will engulf the local area. You'll need to jump as soon as you see the hand hit the ground, though the timing for this is very difficult. Once his second phase goes down, he becomes desperate.
Demon of Hatred's third phase
The two key differences in this phase are that he gets a new attack and his claw drag attack can have a followup that causes him to run back with a second unblockable attack. Make sure that you now react to the claw drag by stopping and seeing what he does. If he comes back, jump over the claw and attack him. If he doesn't, you'll need to avoid the fireballs the hard way as described in the first phase.
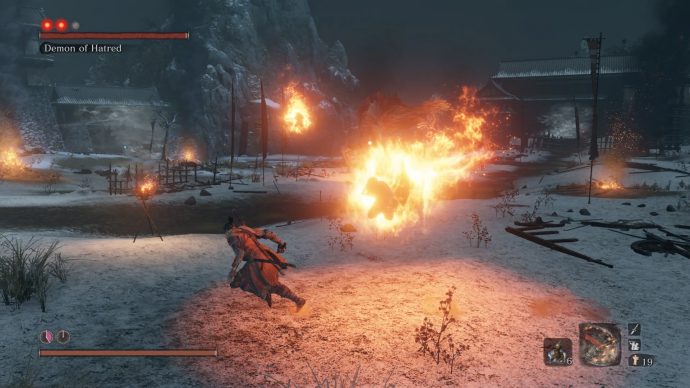
But his second attack is far more dangerous. He'll start this phase with this attack, where he swings his fire arm repeatedly in circles. This is a huge area of effect so get as far away as possible. The area where the arm swung will then ignite and he'll come bursting through the fire. Be ready for whatever attack he uses, whether it's an unblockable one or a leap towards you with his normal arm raised.
If you're up close when he begins swinging his arm around like a football hooligan with a scarf lasso, try to jump over it as it is a sweeping attack. Perseverance is the key to this fight and eventually you'll have a run where you'll be able to finally put out this blazing inferno.
There's only one more fight in the main game that's easily accessible, so join us next time for the fight against the final boss in our Sekiro: Shadows Die Twice Isshin, the Sword Saint guide. You can also look at our dedicated Sekiro: Shadows Die Twice boss or check out the Sekiro: Shadows Die Twice Divine Dragon guide for details on the previous boss fight.