Sekiro True Corrupted Monk - how to defeat all three phases


If you didn't side with Great Shinobi Owl, breaking the ninja code in the pivotal choice moment in Sekiro: Shadows Die Twice, then the next area you unlock after defeating him is the beautiful Fountainhead Palace. But wait, who's this that's come to greet us at the door. Why it's that pesky monk from Mibu Village again, only this time she seems, real? Turns out there's more to this monk than meets the eye.
Those new and old to the library of From Software may wish to know more tips and tricks to get started, as well as some of the more complicated things that can occur while playing. Head to our Sekiro: Shadows Die Twice guide hub for everything you need to know.
There is now a dedicated Sekiro: Shadows Die Twice boss where you can find tips for the many bosses of the game. You can also look at our Sekiro: Shadows Die Twice Great Shinobi Owl guide for tips on the previous boss battle.
Sekiro: Shadows Die Twice True Corrupted Monk guide
This guide will go through each of the True Corrupted Monk's three phases, how to instantly take her to the third phase, and how to ultimately defeat her.
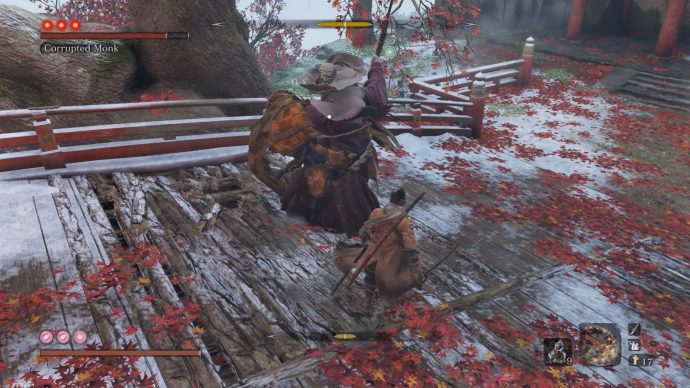
How to defeat True Corrupted Monk's first phase
This first phase is exactly the same as the fight against her apparition form. You can get a list of her attacks in our Sekiro: Shadows Die Twice Corrupted Monk guide. Use the same tactics of blocking or deflecting her attacks, while at the same time jumping and kicking her when she goes for a sweep or a Miriki Counter when she lunges with the spear. This phase shouldn't be too hard and he is even a tad slower than her apparition form.
Of course, you don't want to fight the same phase again do you? Well there's a cheeky way to skip this phase entirely. Before she appears, latch onto the trees to the side with your grappling hook, get it to so you're behind her on a tree to the left as she lands. When she stands up, that's your cue to jump and pull off an aerial deathblow.
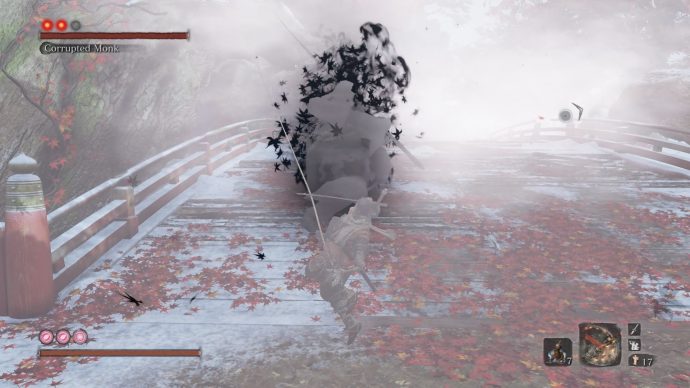
How to defeat True Corrupted Monk's second phase
As soon as the deathblow animation stops, back off and latch onto a nearby tree. This phase of the fight begins with the monk disappearing into dense fog, reappearing to attack you from just behind you. These are merely decoys however, as the real monk will appear in the centre of the bridge. You can finish this phase of the fight quickly by circling around for a bit, before making a deathblow leap onto her idle main body, giving you only one more phase to fight.
Otherwise, think of this phase as the same as phase one, but with this extra attack that she can execute at a whim. Each time she disappears from the real world is an opportunity to execute the cheap deathblow, so make sure you take full advantage of this. As for dodging the shadow figures, grapple as far away as possible when you begin to see black leaves in your vicinity.
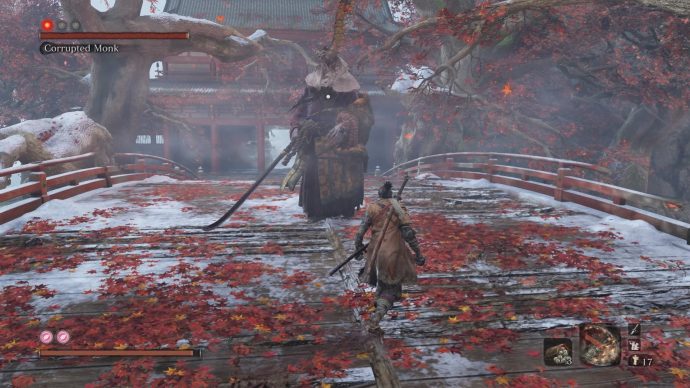
How to defeat True Corrupted Monk's third phase
Well that isn't entirely surprising. Defeating the second phase will cause a millipede to sprout from her neck. This causes the monk to lose her shadow attack, but gain a poisonous spit that can happen at the end of combos. Other than that, and being slightly quicker than her other two phases, she's not got much that makes her different.
There is no exploit in this phase to quite the same level as the previous phases, but explosive firecracker charges will stun her into place. Use these as she slowly runs up to you, rather than when she's in mid-attack animation, and she should flinch. Attack her four to five times, before deflecting her next attack. Once that's over, detonate some more firecrackers to stun her again. Before long, you should have either plunged her health to zero or built up her posture to a killable range. Make sure to sever its ties with immortality to finish this monk off for good. For winning, you'll get 8000 experience for your skills, the memory for this boss, as well as the Dragon's Tally Board item - which increases the stock numbers in shops.
Climbing up the mountain, you'll be facing off against a celestial being in one of the game's more obscurely designed fights - which we will go into detail in our Sekiro: Shadows Die Twice Divine Dragon guide. You can also take a gander at our Sekiro: Shadows Die Twice boss where you can find tips for the many bosses of the game, or look at our Sekiro: Shadows Die Twice Great Shinobi Owl guide for tips on that boss fight.